↓


by Megan Shaw
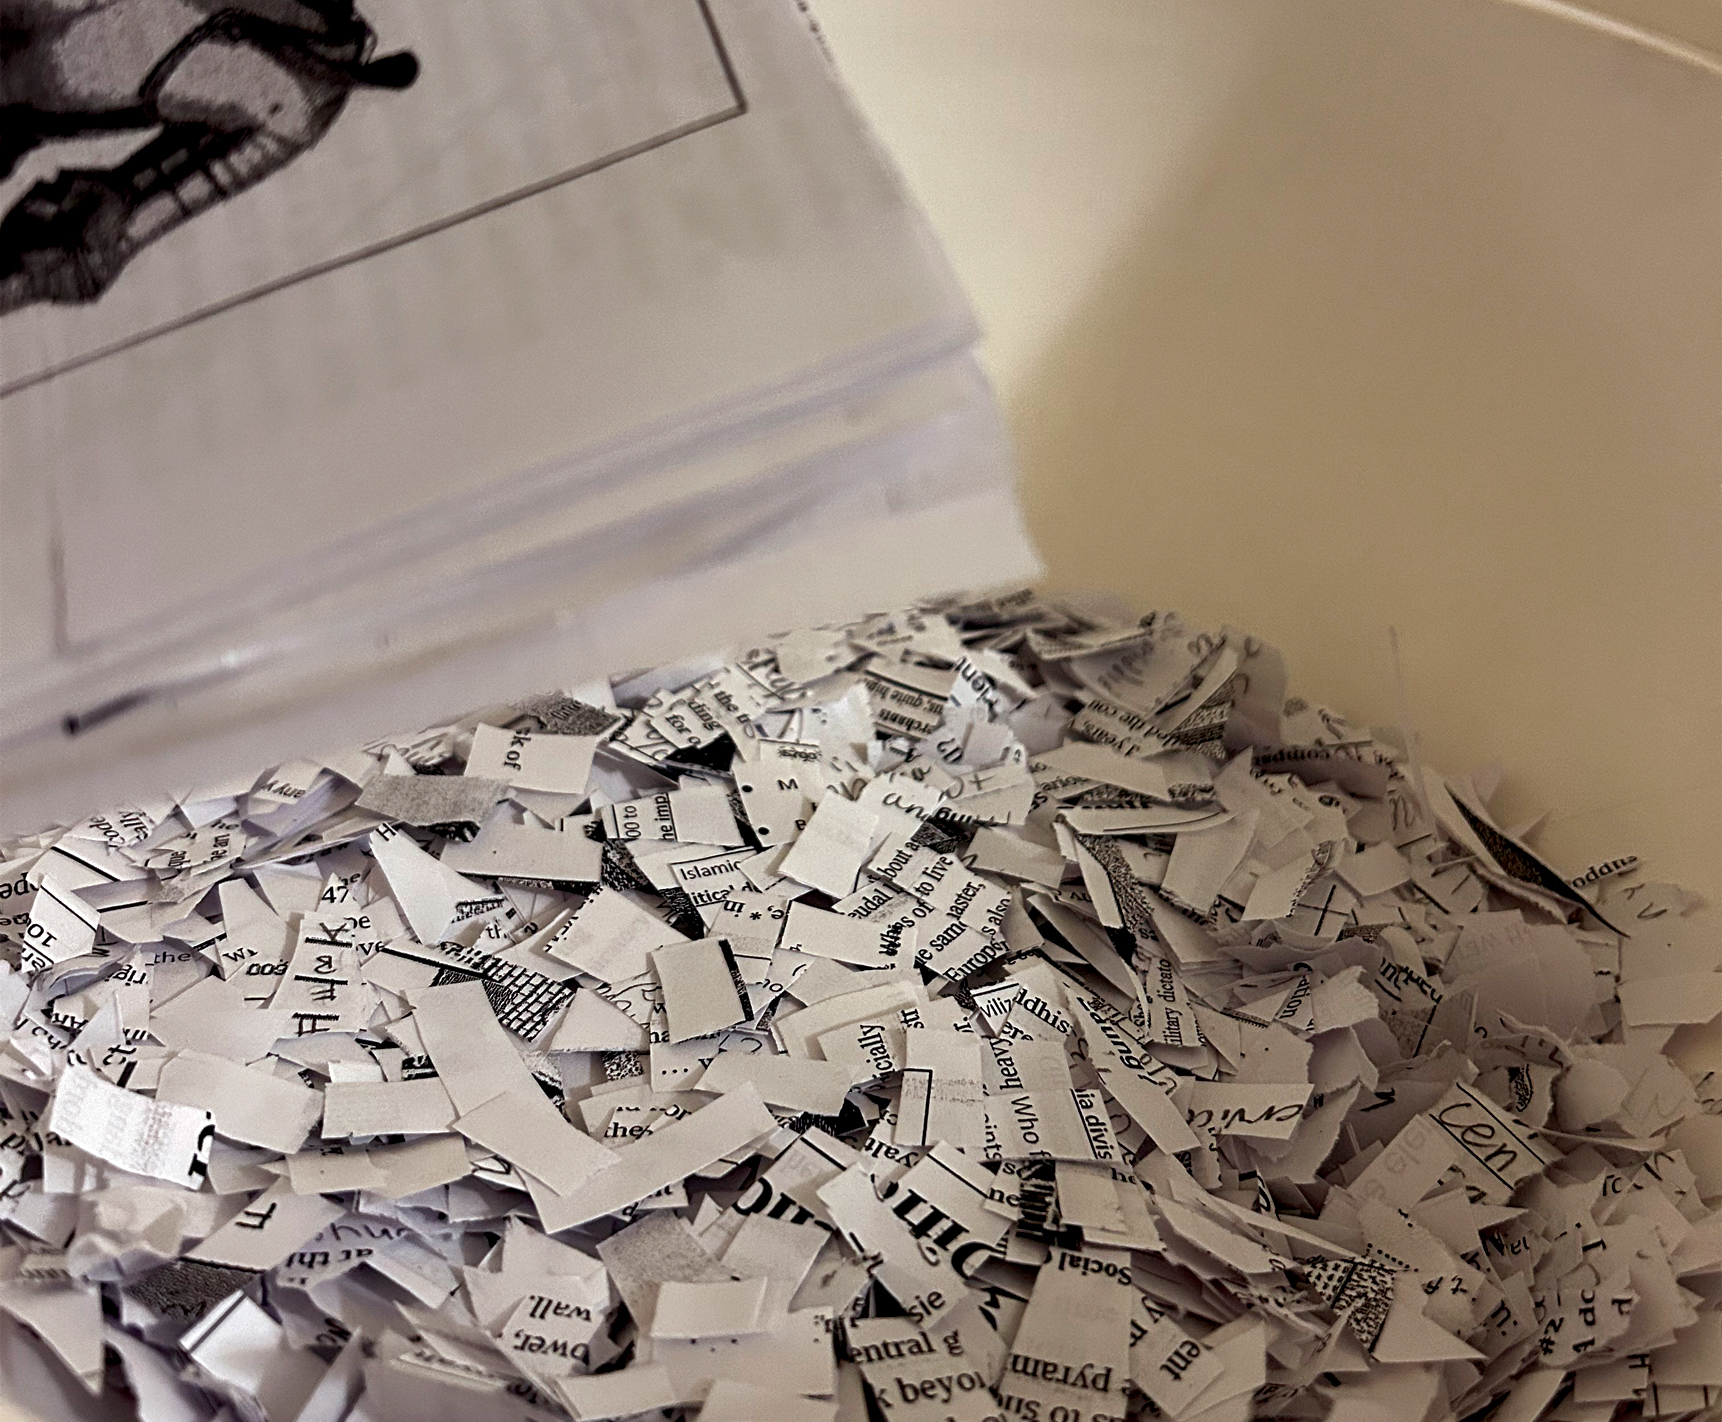
Step 1: Gather your recycled paper and shred. I used a mixture of hand shreding and machine shreding.
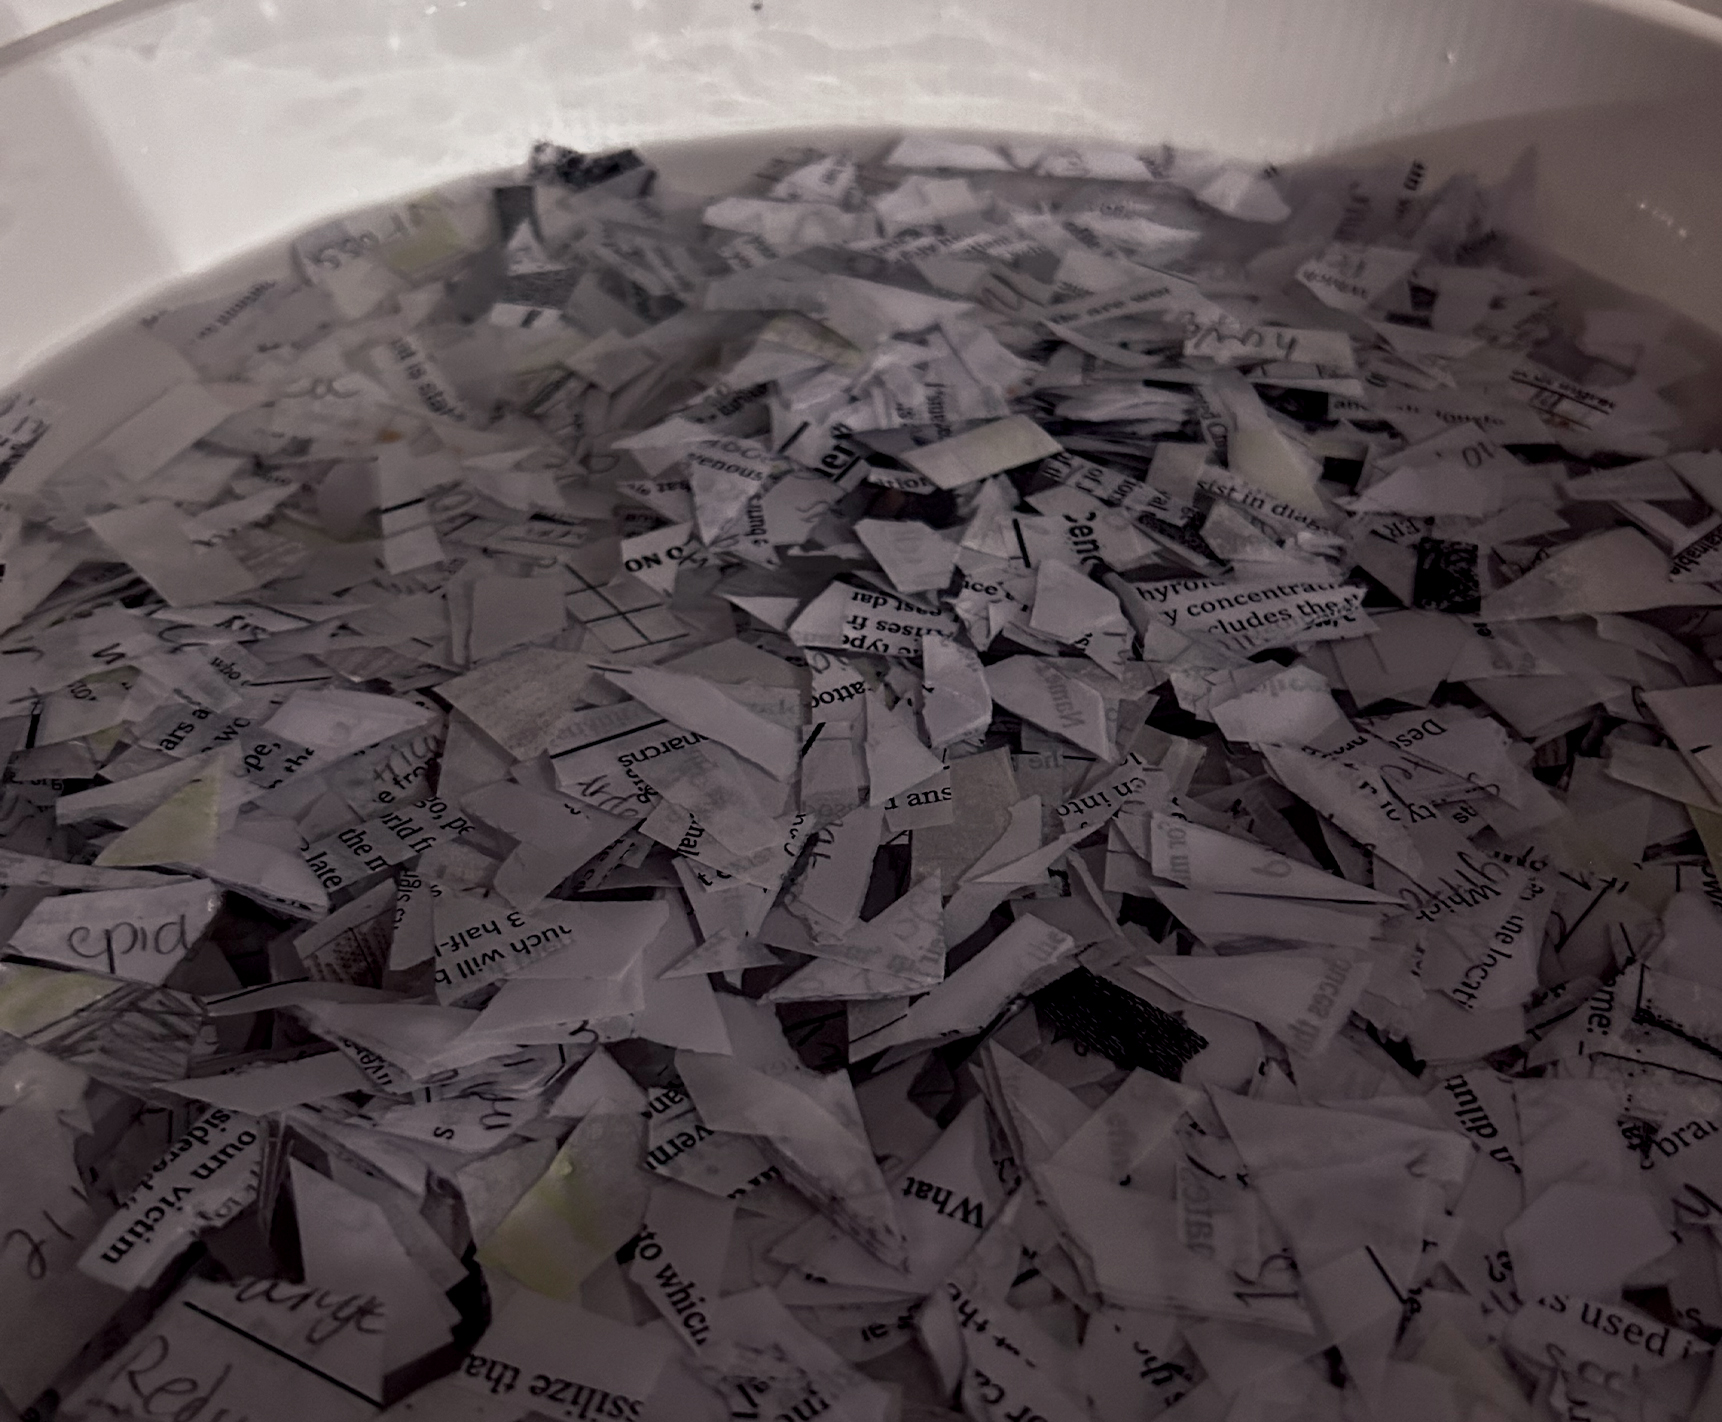
Step 2: Soak shreds in water for a few hours. I allowed my paper to soak overnight.
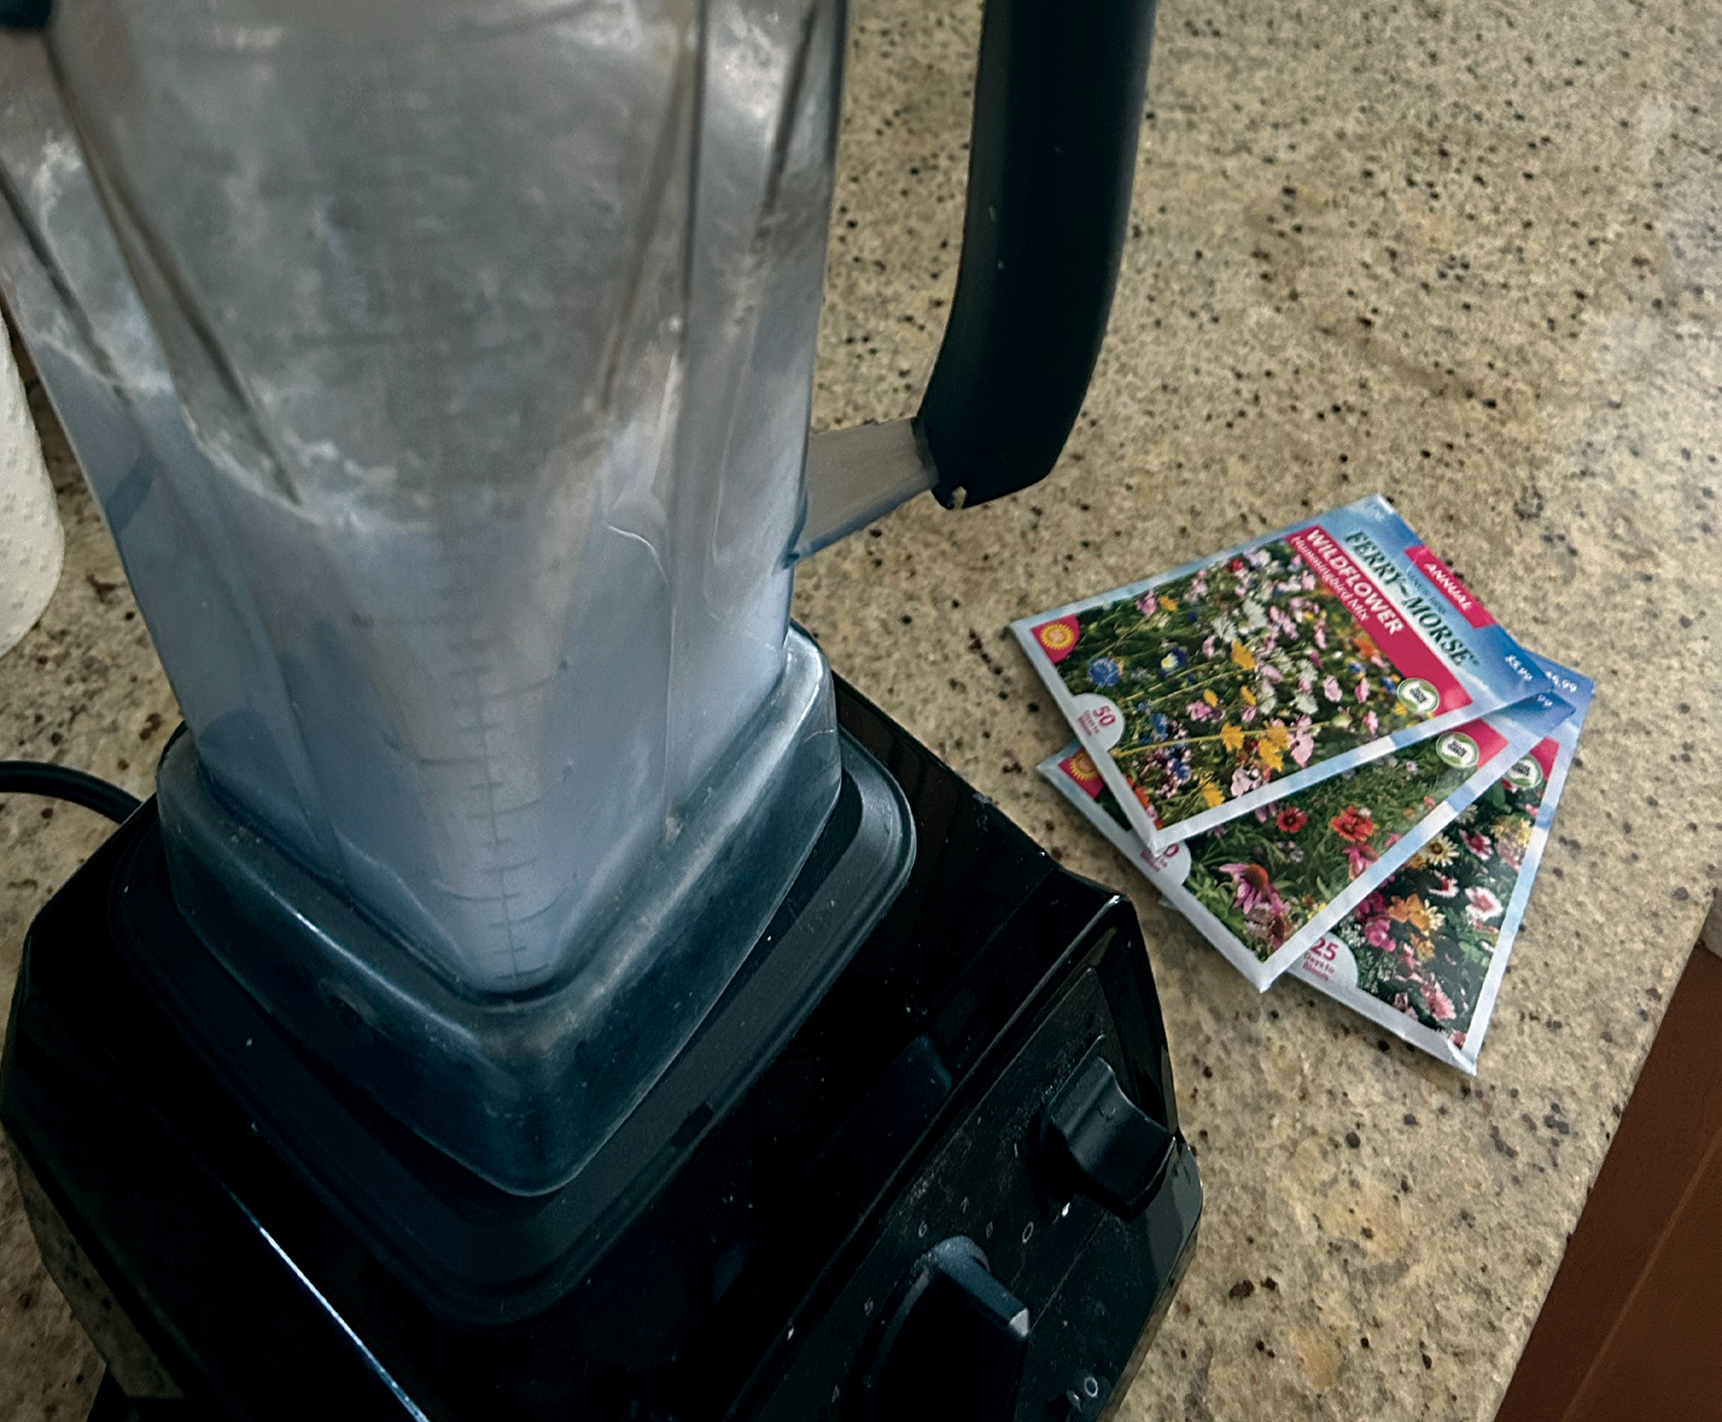
Step 3: Blend shred and water mixure until pulp consistancy. Make sure to keep the mixure watery, as to not put stress on your blender.

Step 4: If making multiple colors, seperate pulp into containers. I needed one for each poster.
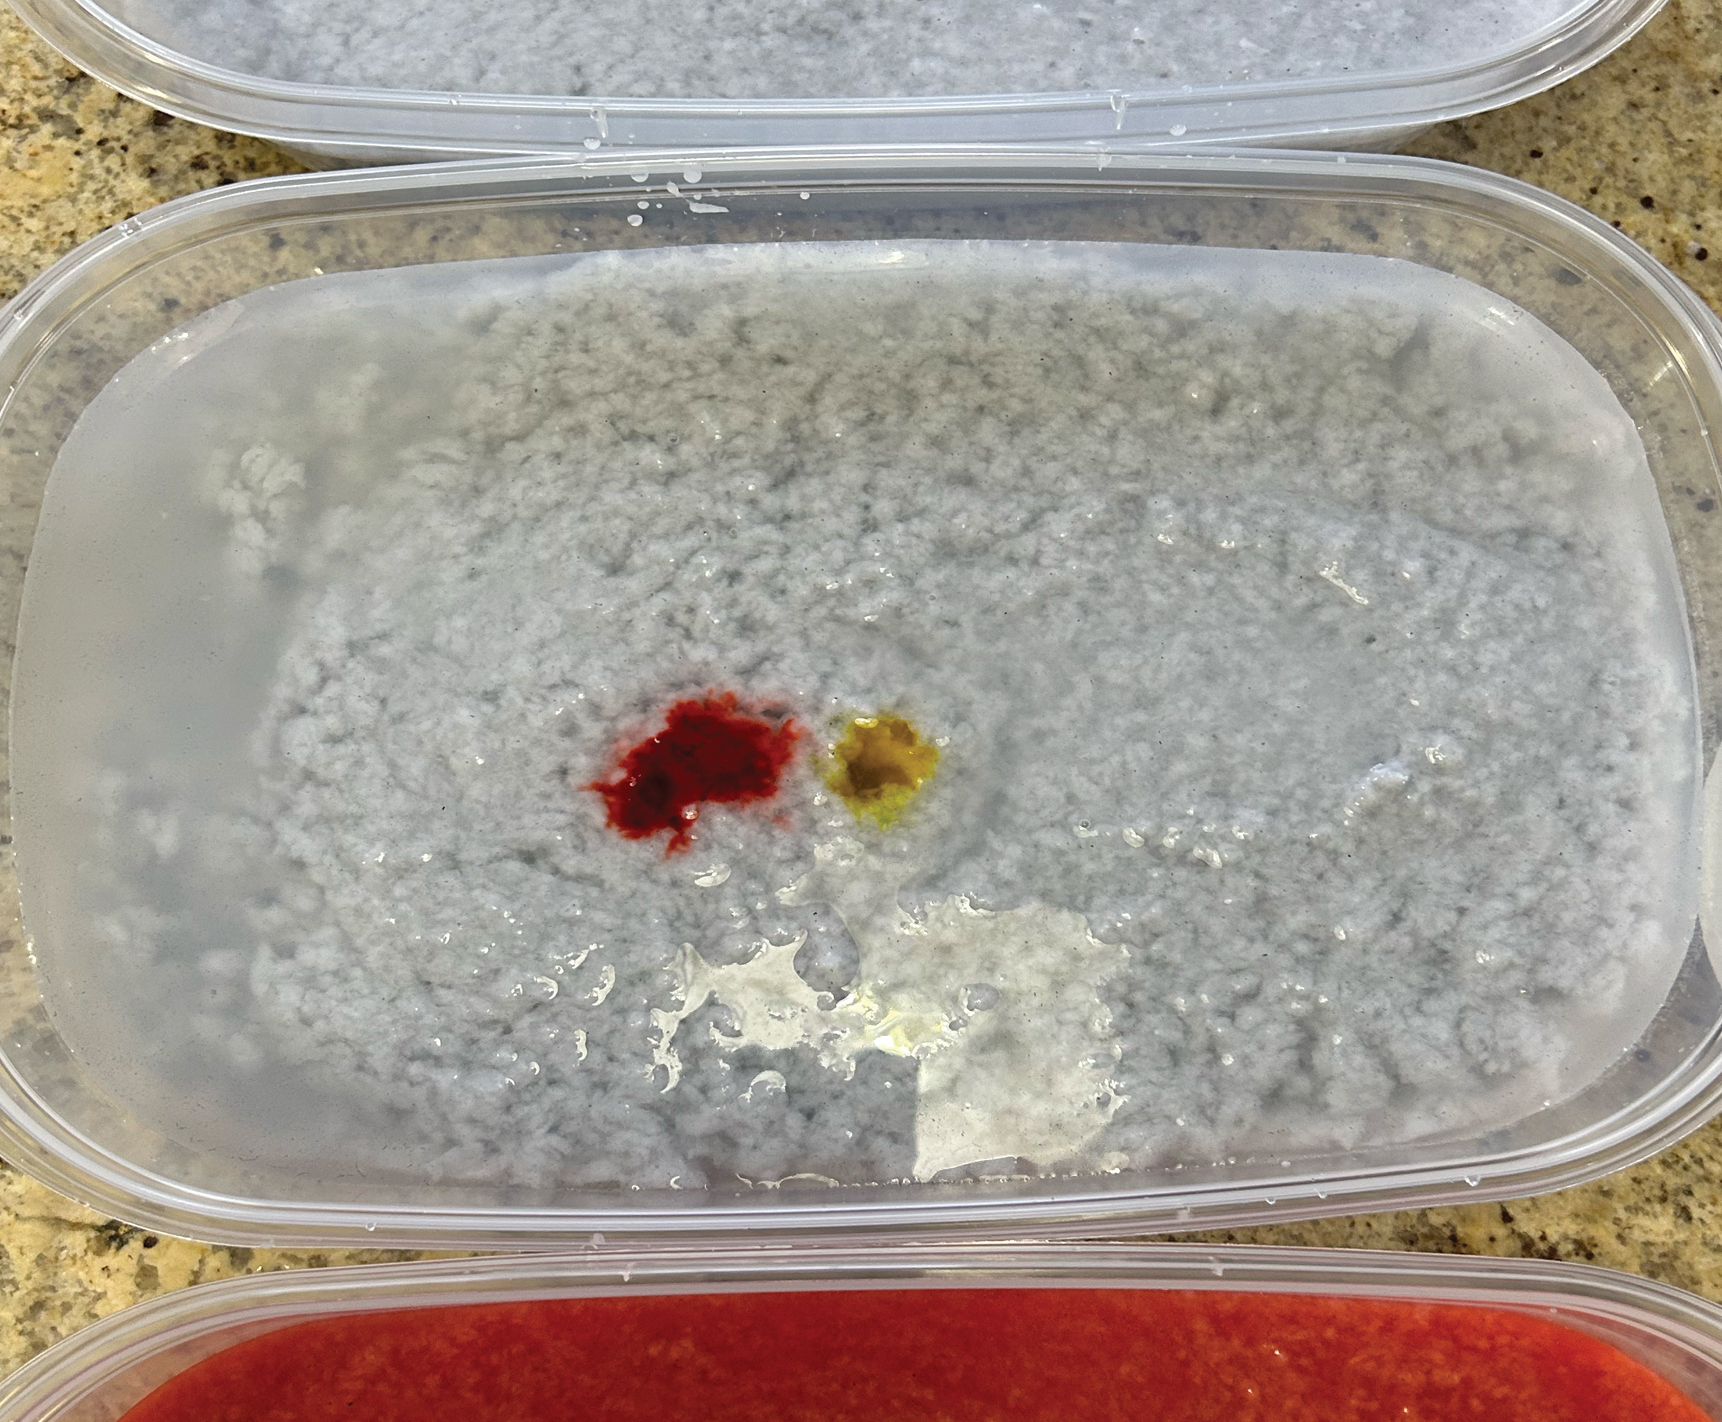
Step 5: Add your non-toxic dye. I used a mix of food coloring and non-toxic paint.
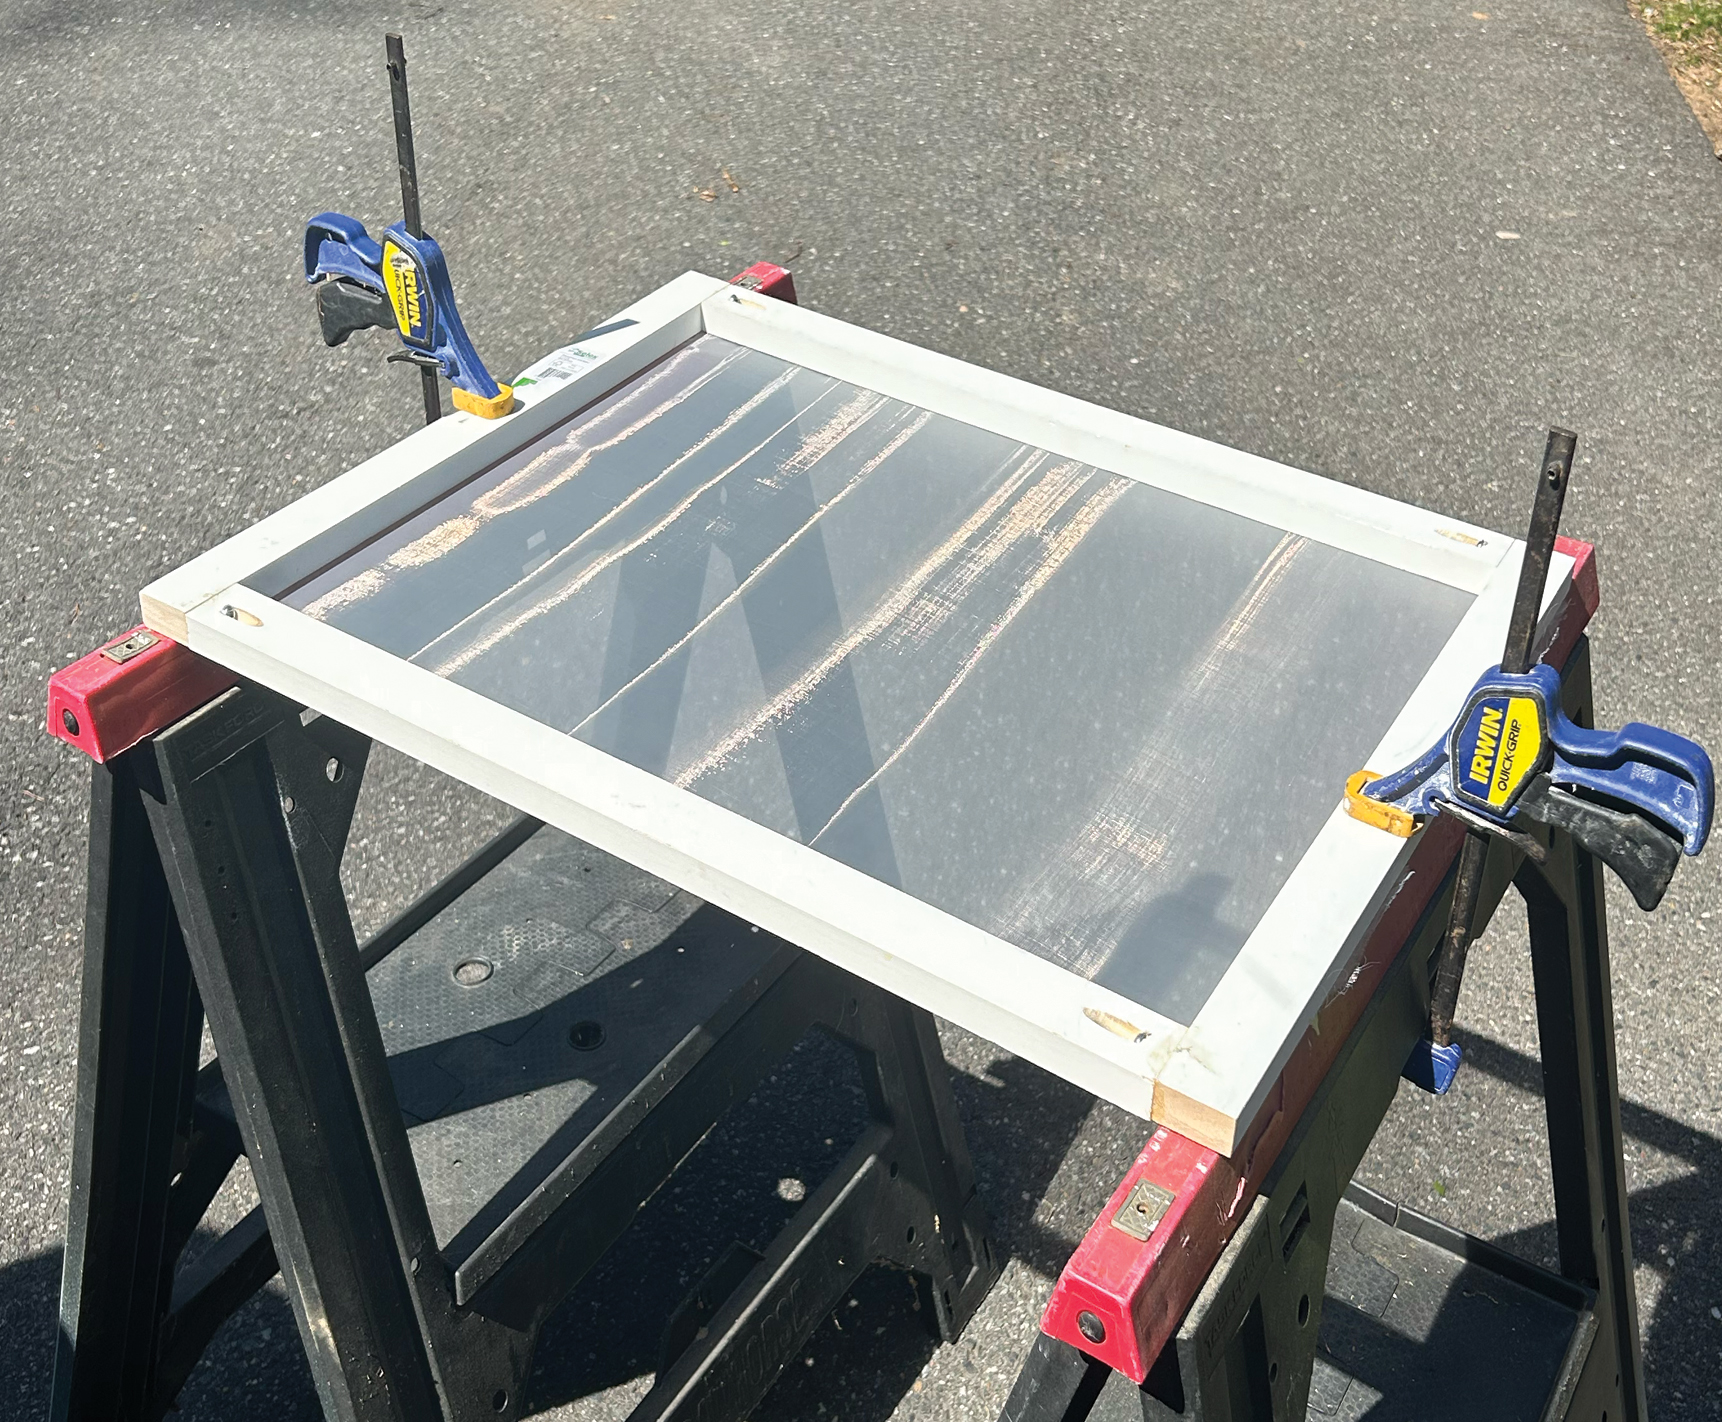
Step 6: Prepare your mesh screen. I made mine out of repurposed wood and cheese cloth.
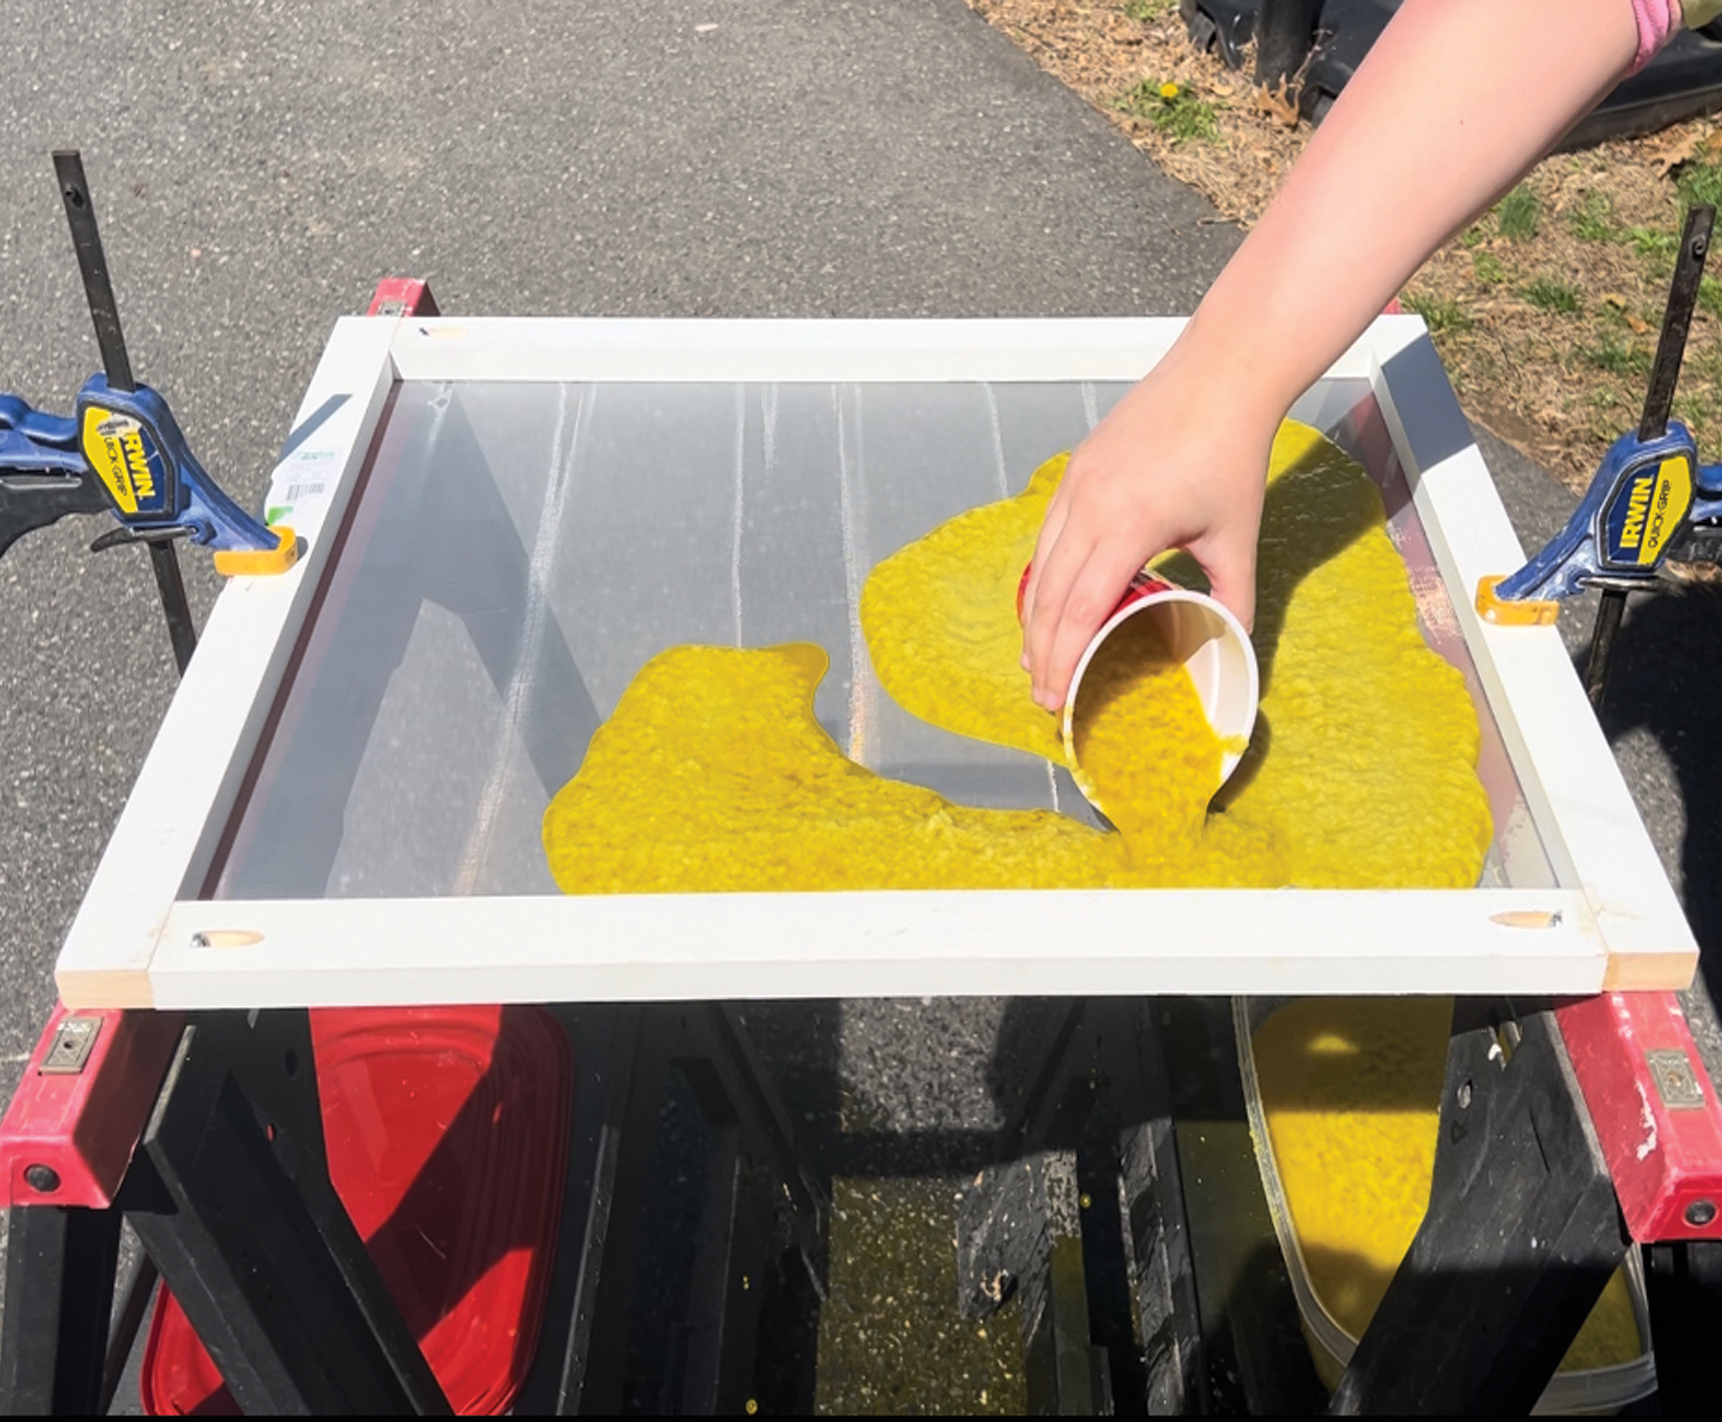
Step 7: Pour the pulp evenly over the screen. Adding support under your mesh allows for more even distributing.
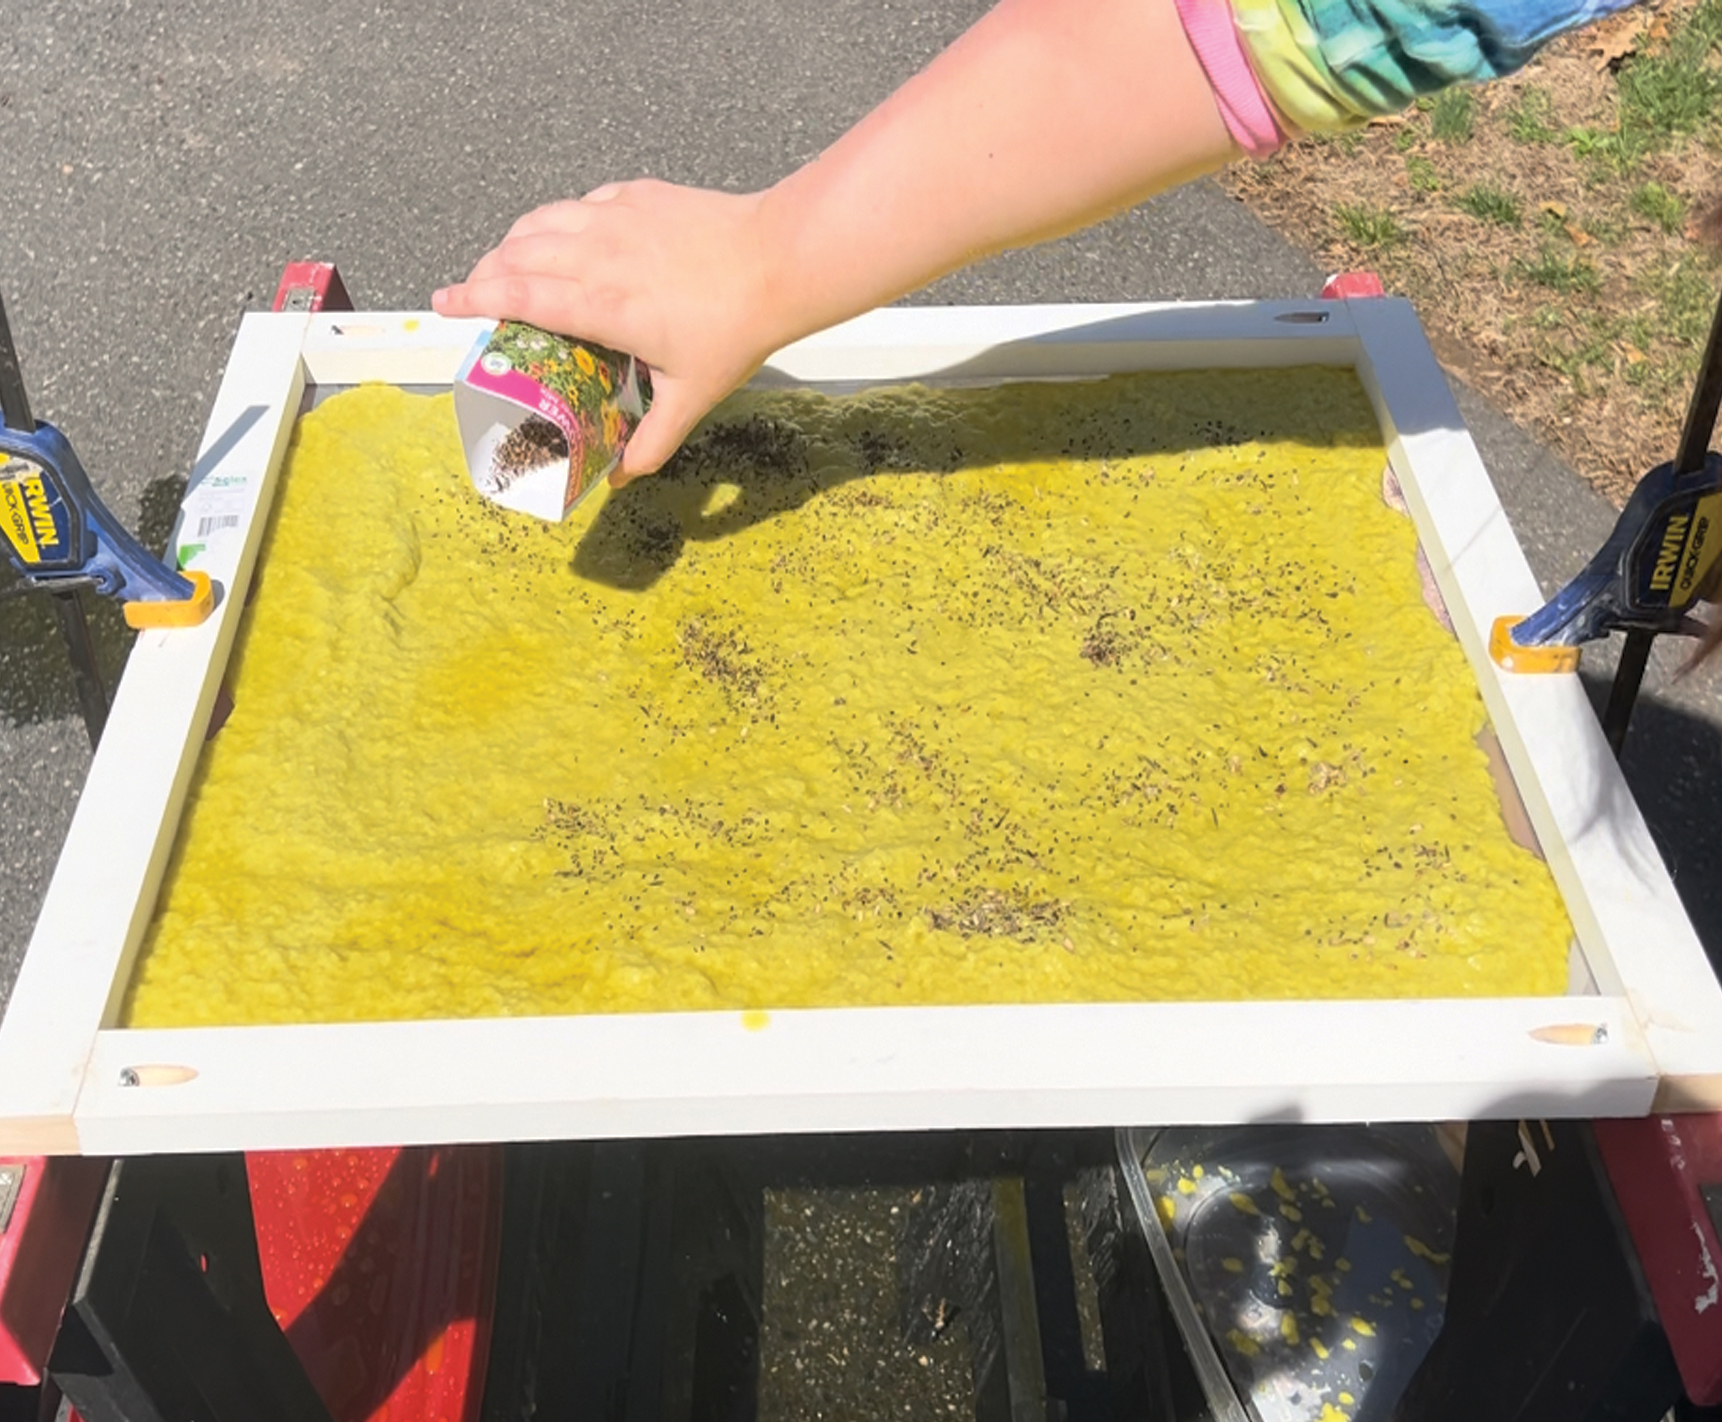
Step 8: Sprinkle in your seeds, and press out water with a damp sponge. I used specific seeds for each different pollinator.
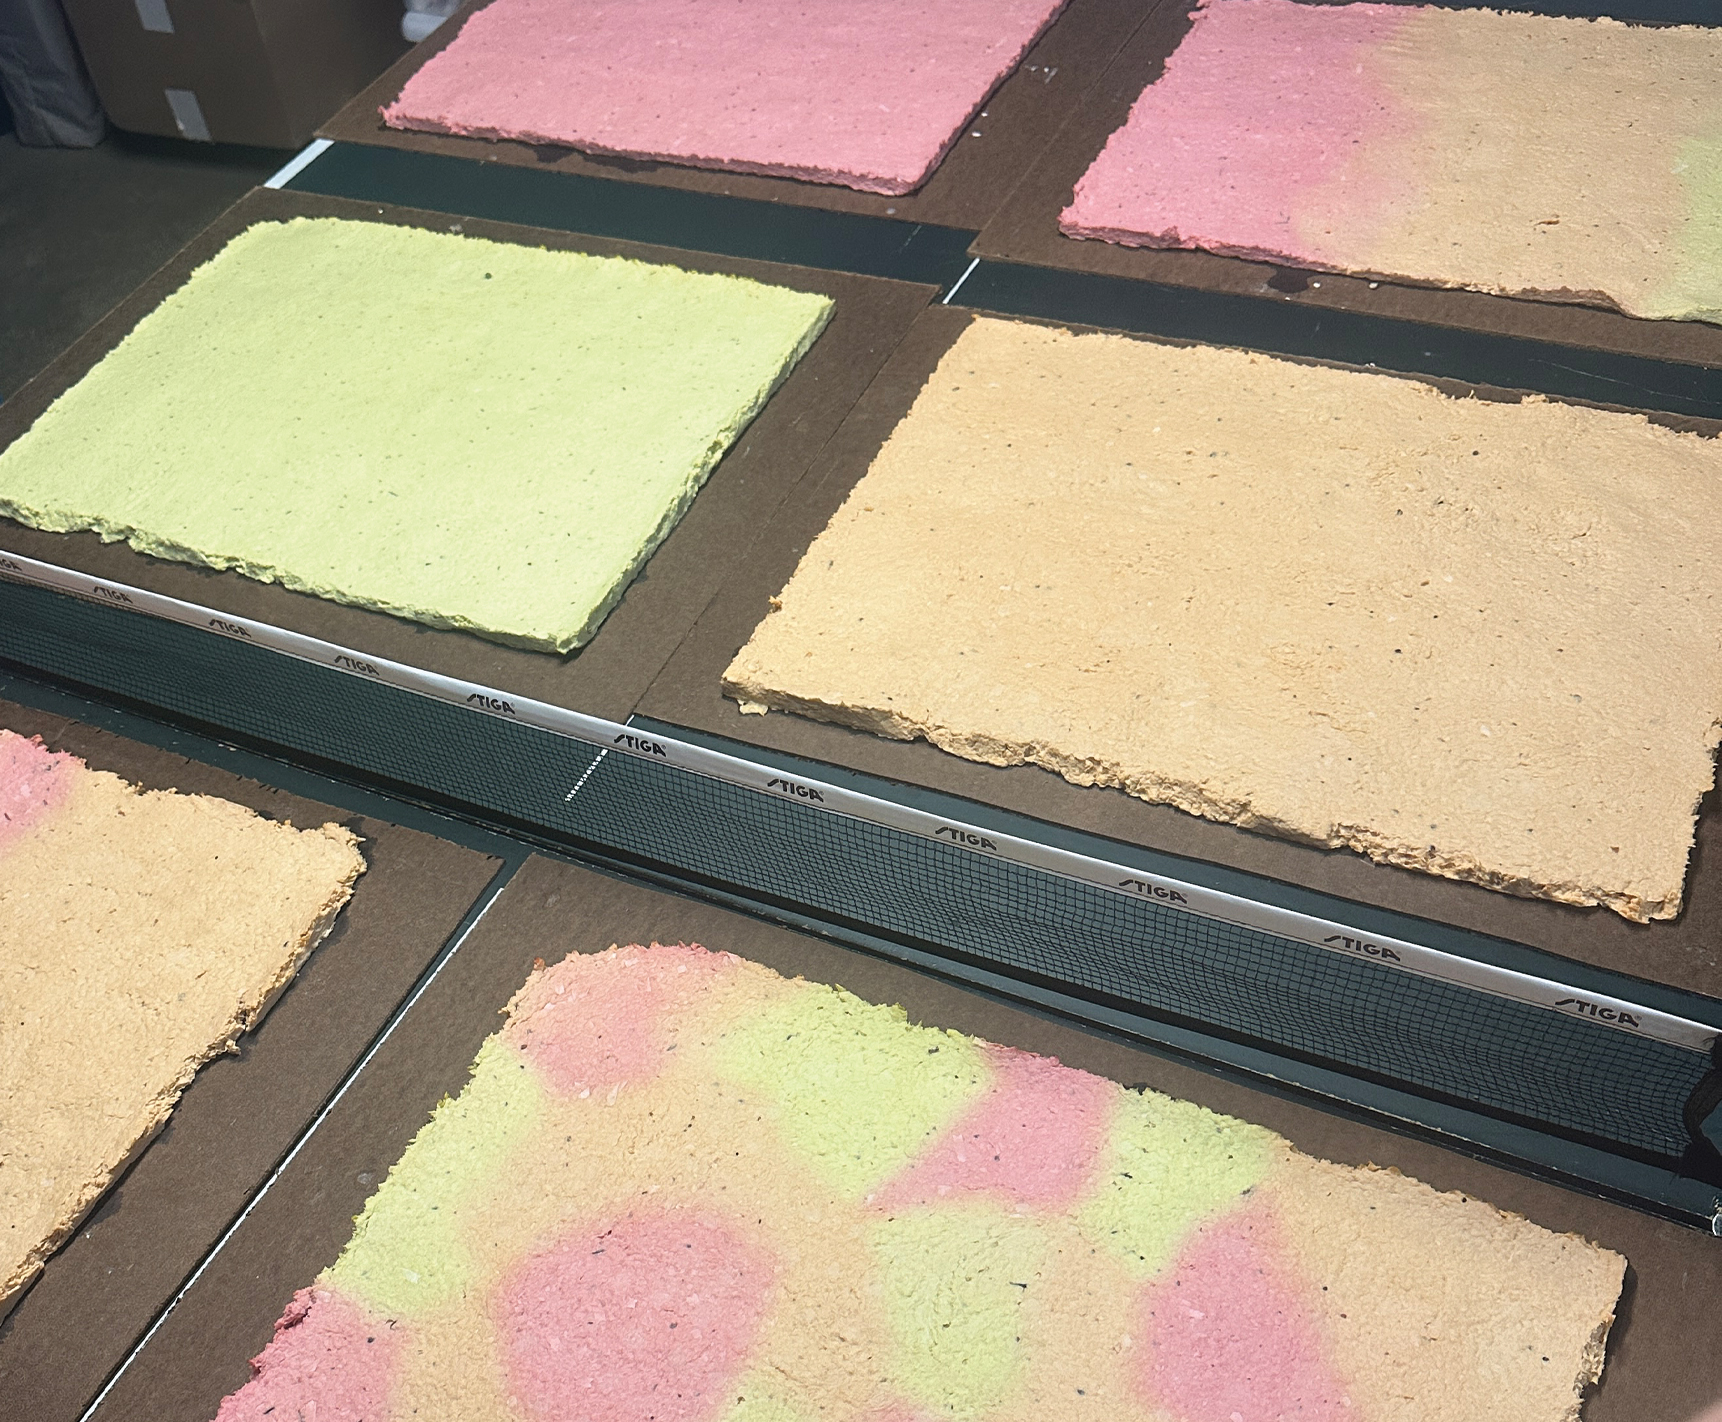
Step 9: Let dry for as long as possible. Thinner papers may only take a couple days, but mine took a little over a week.
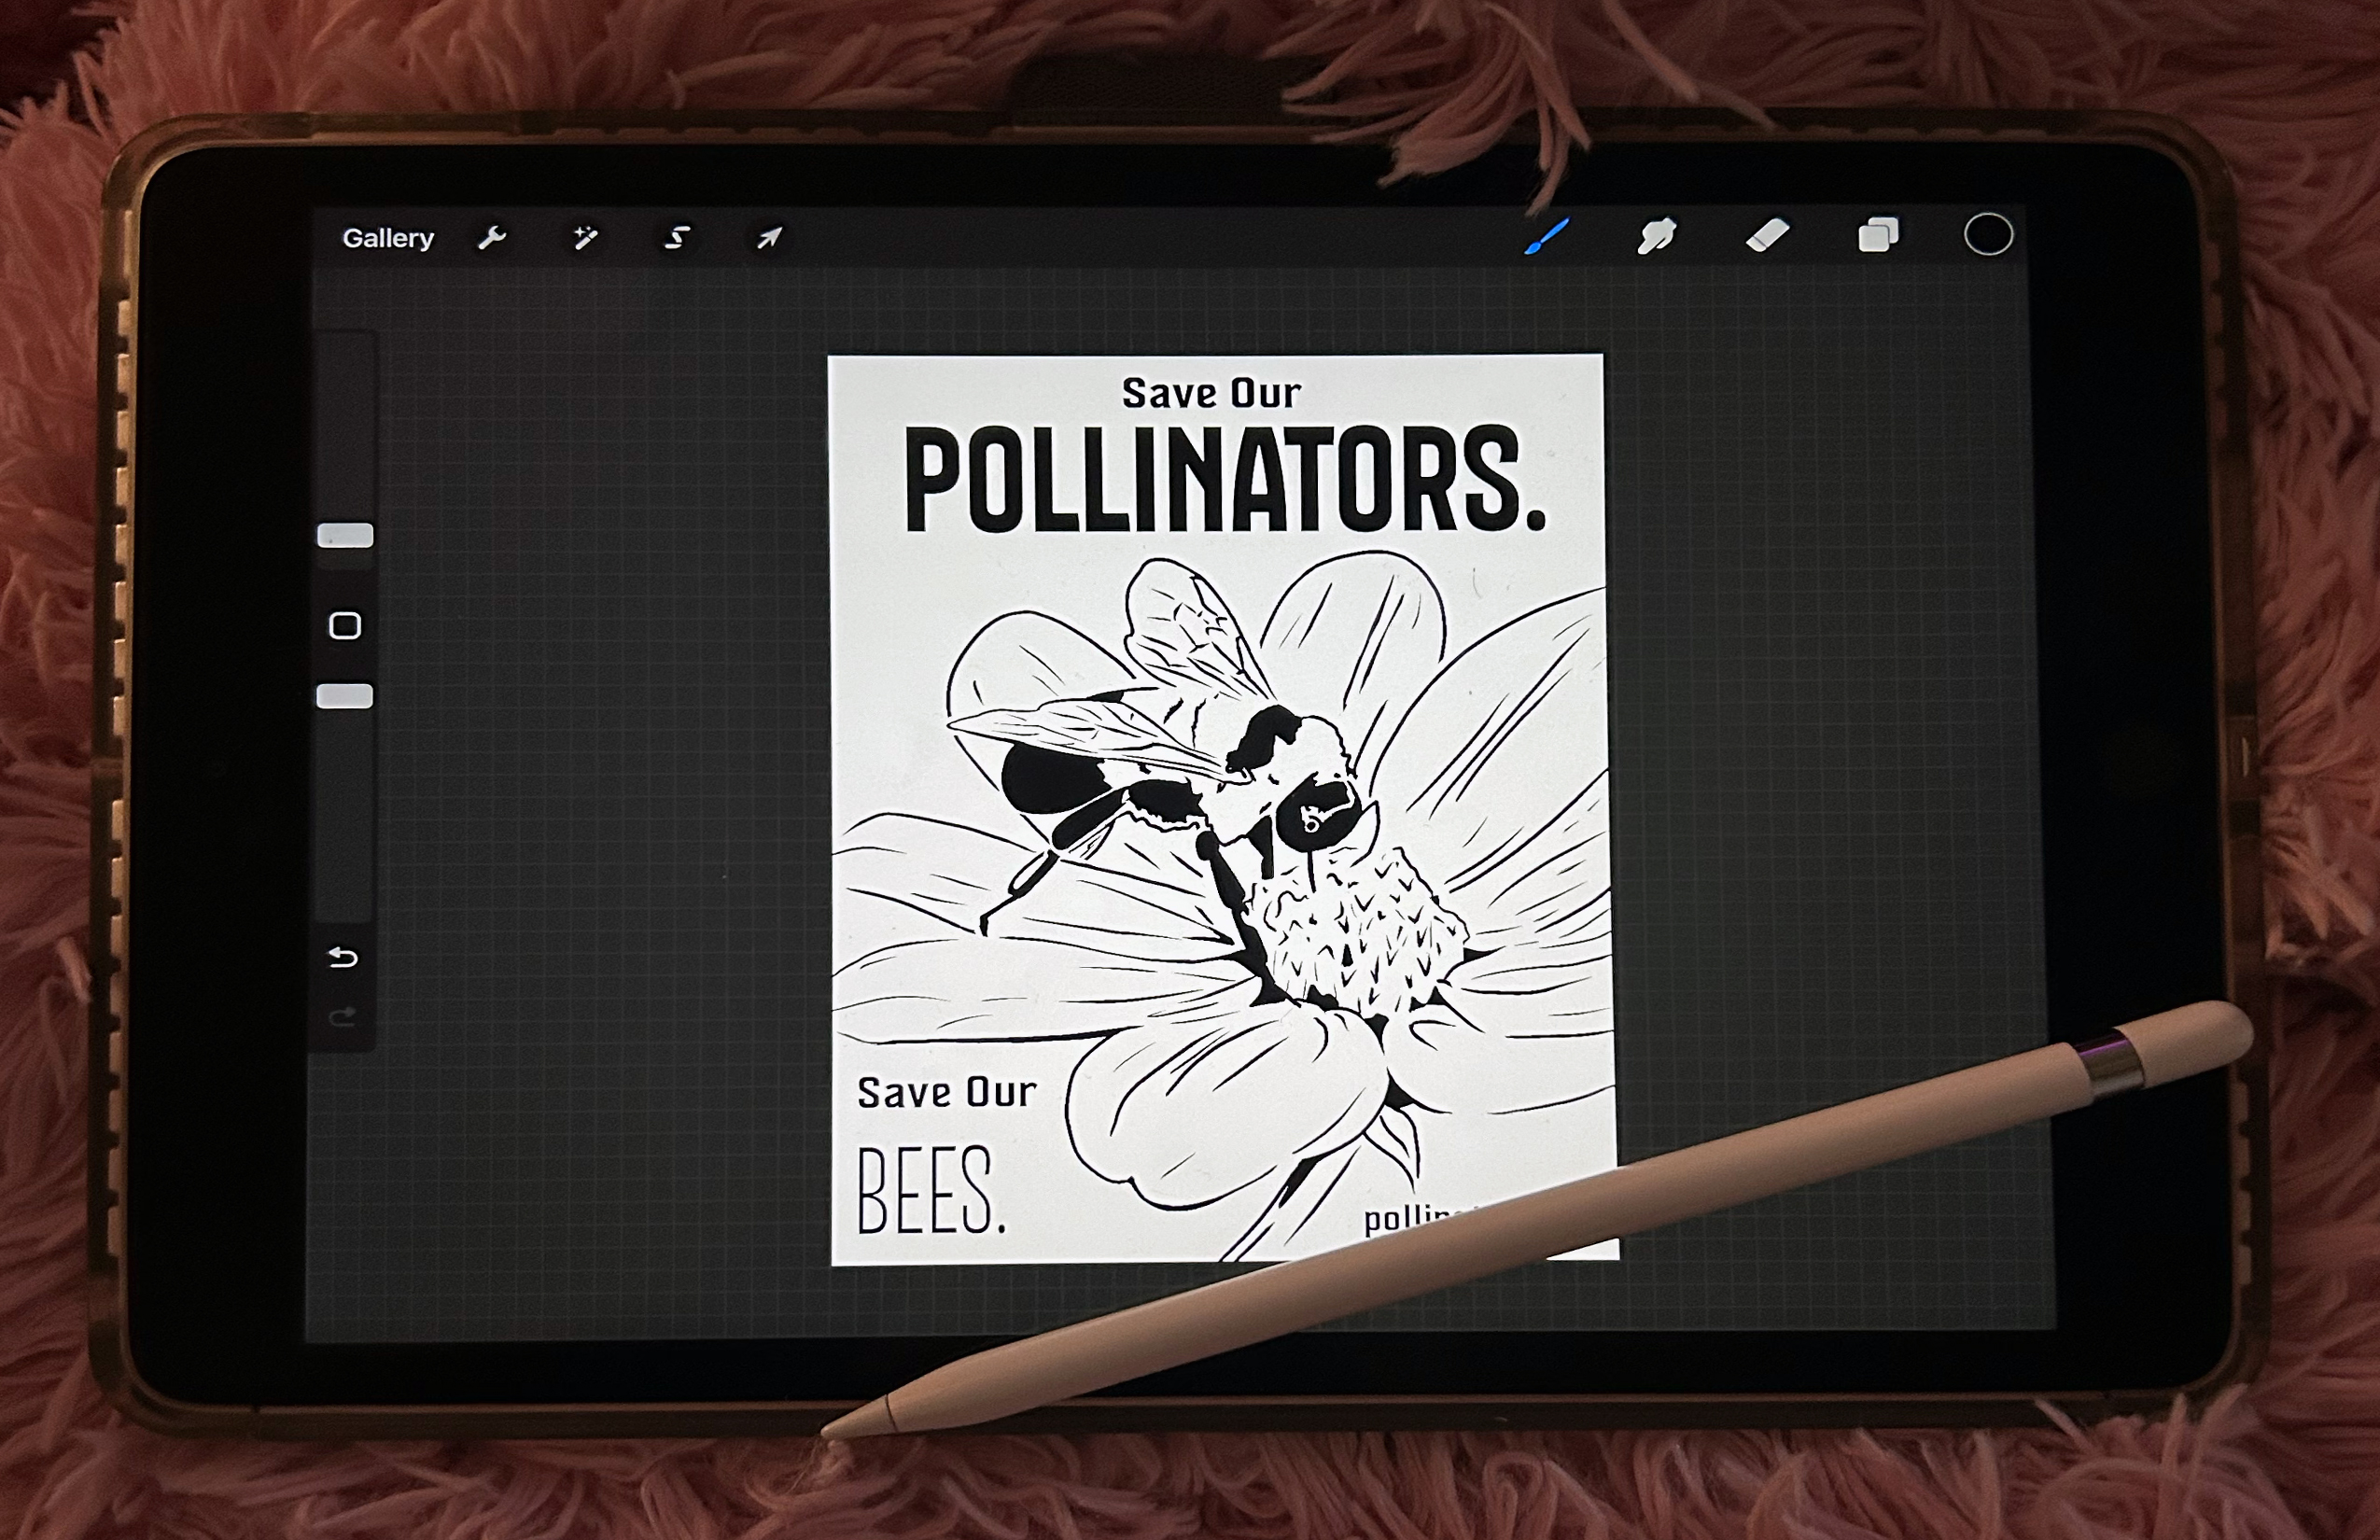
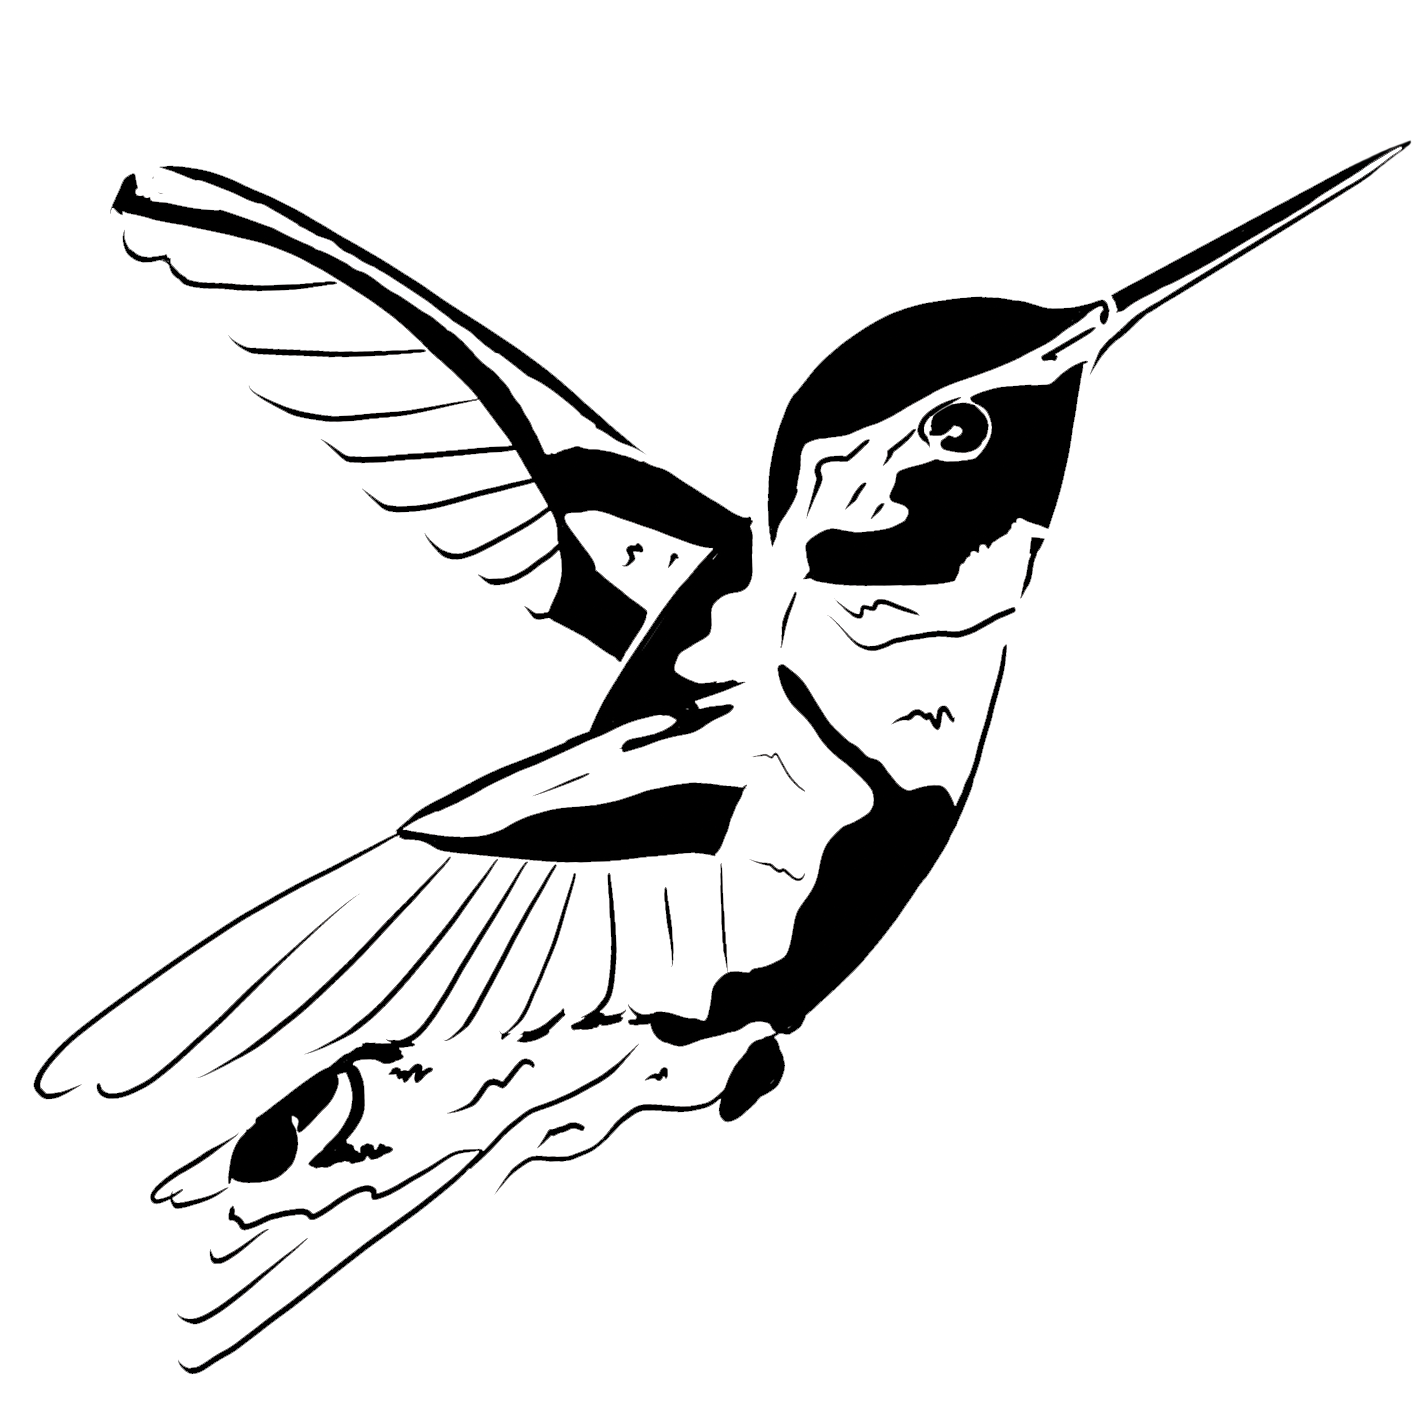
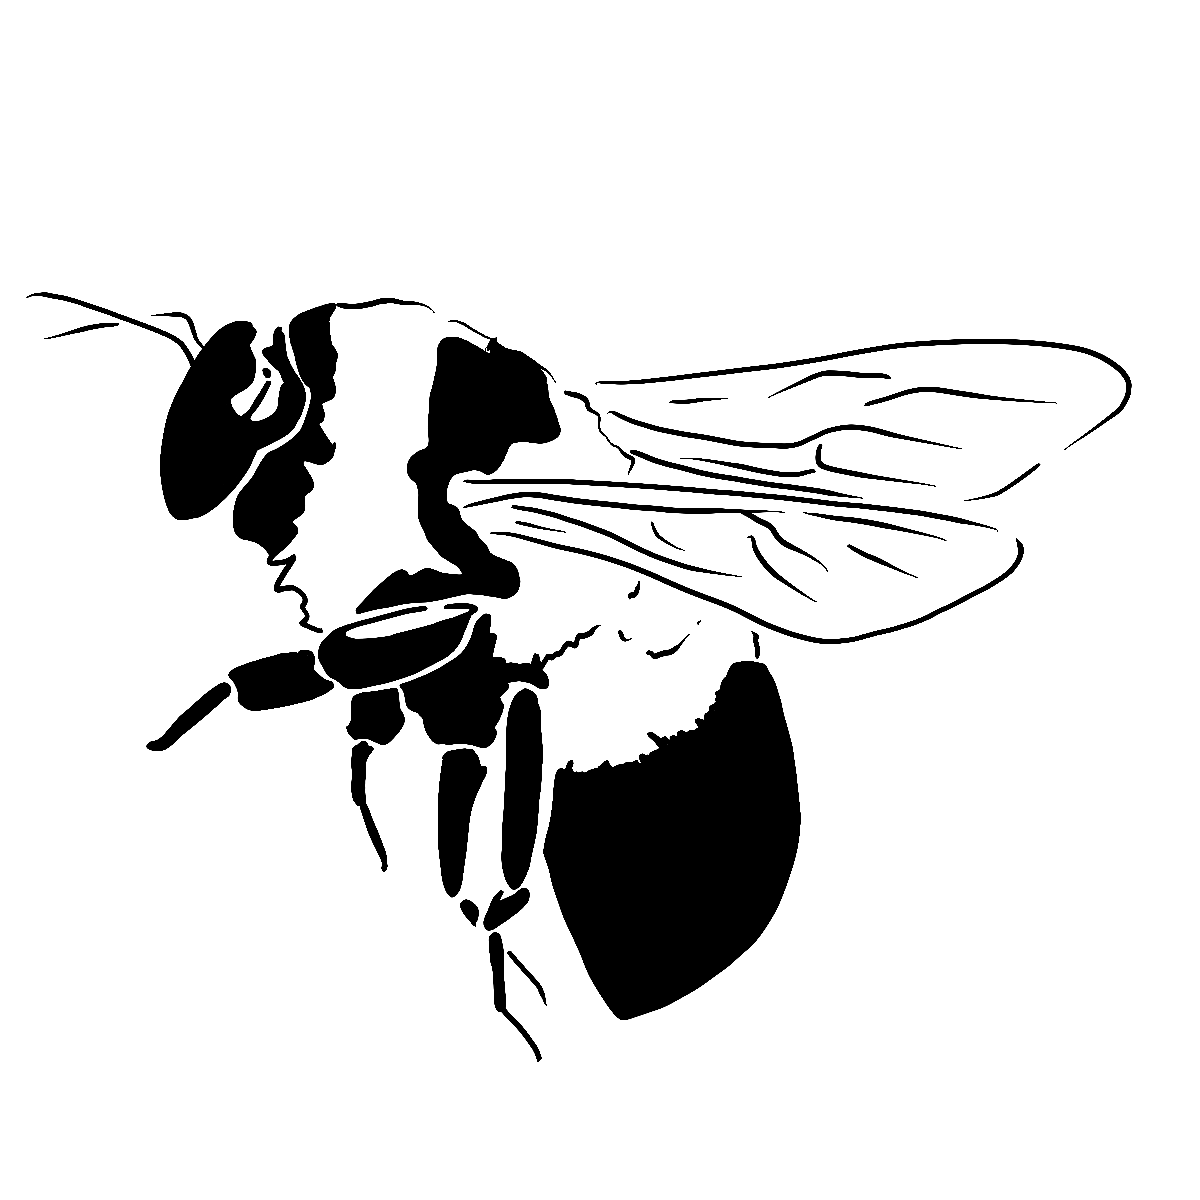
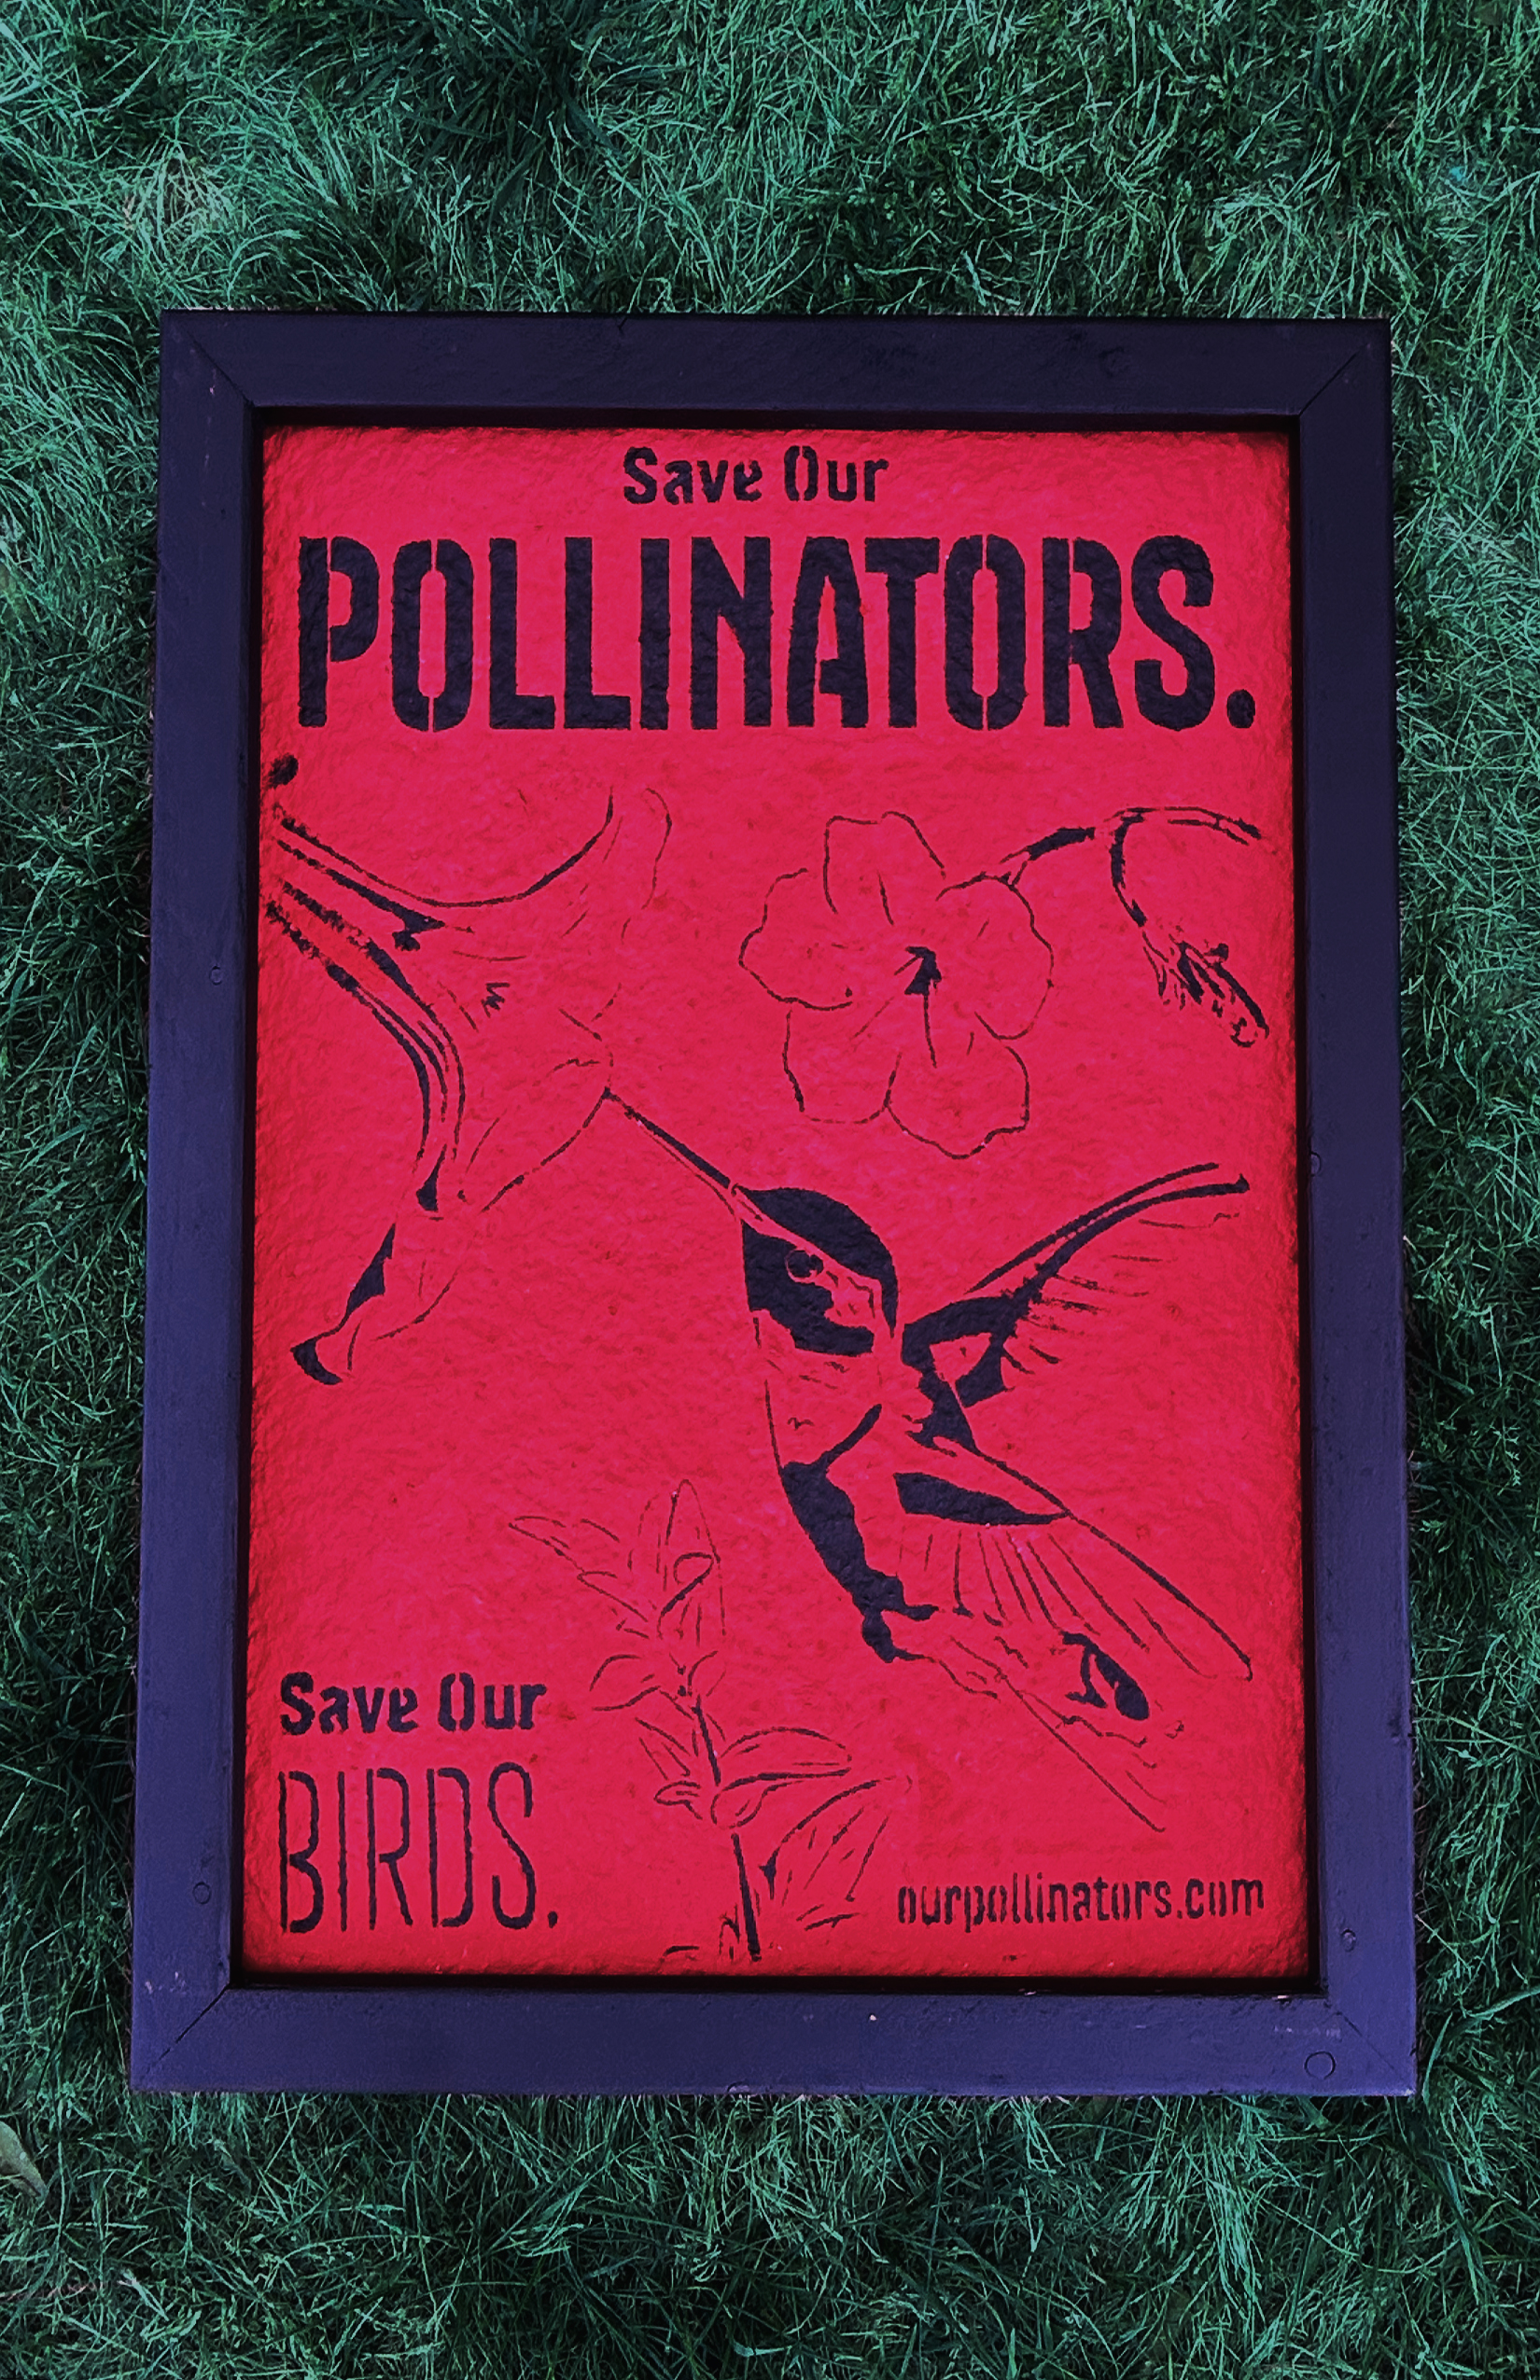
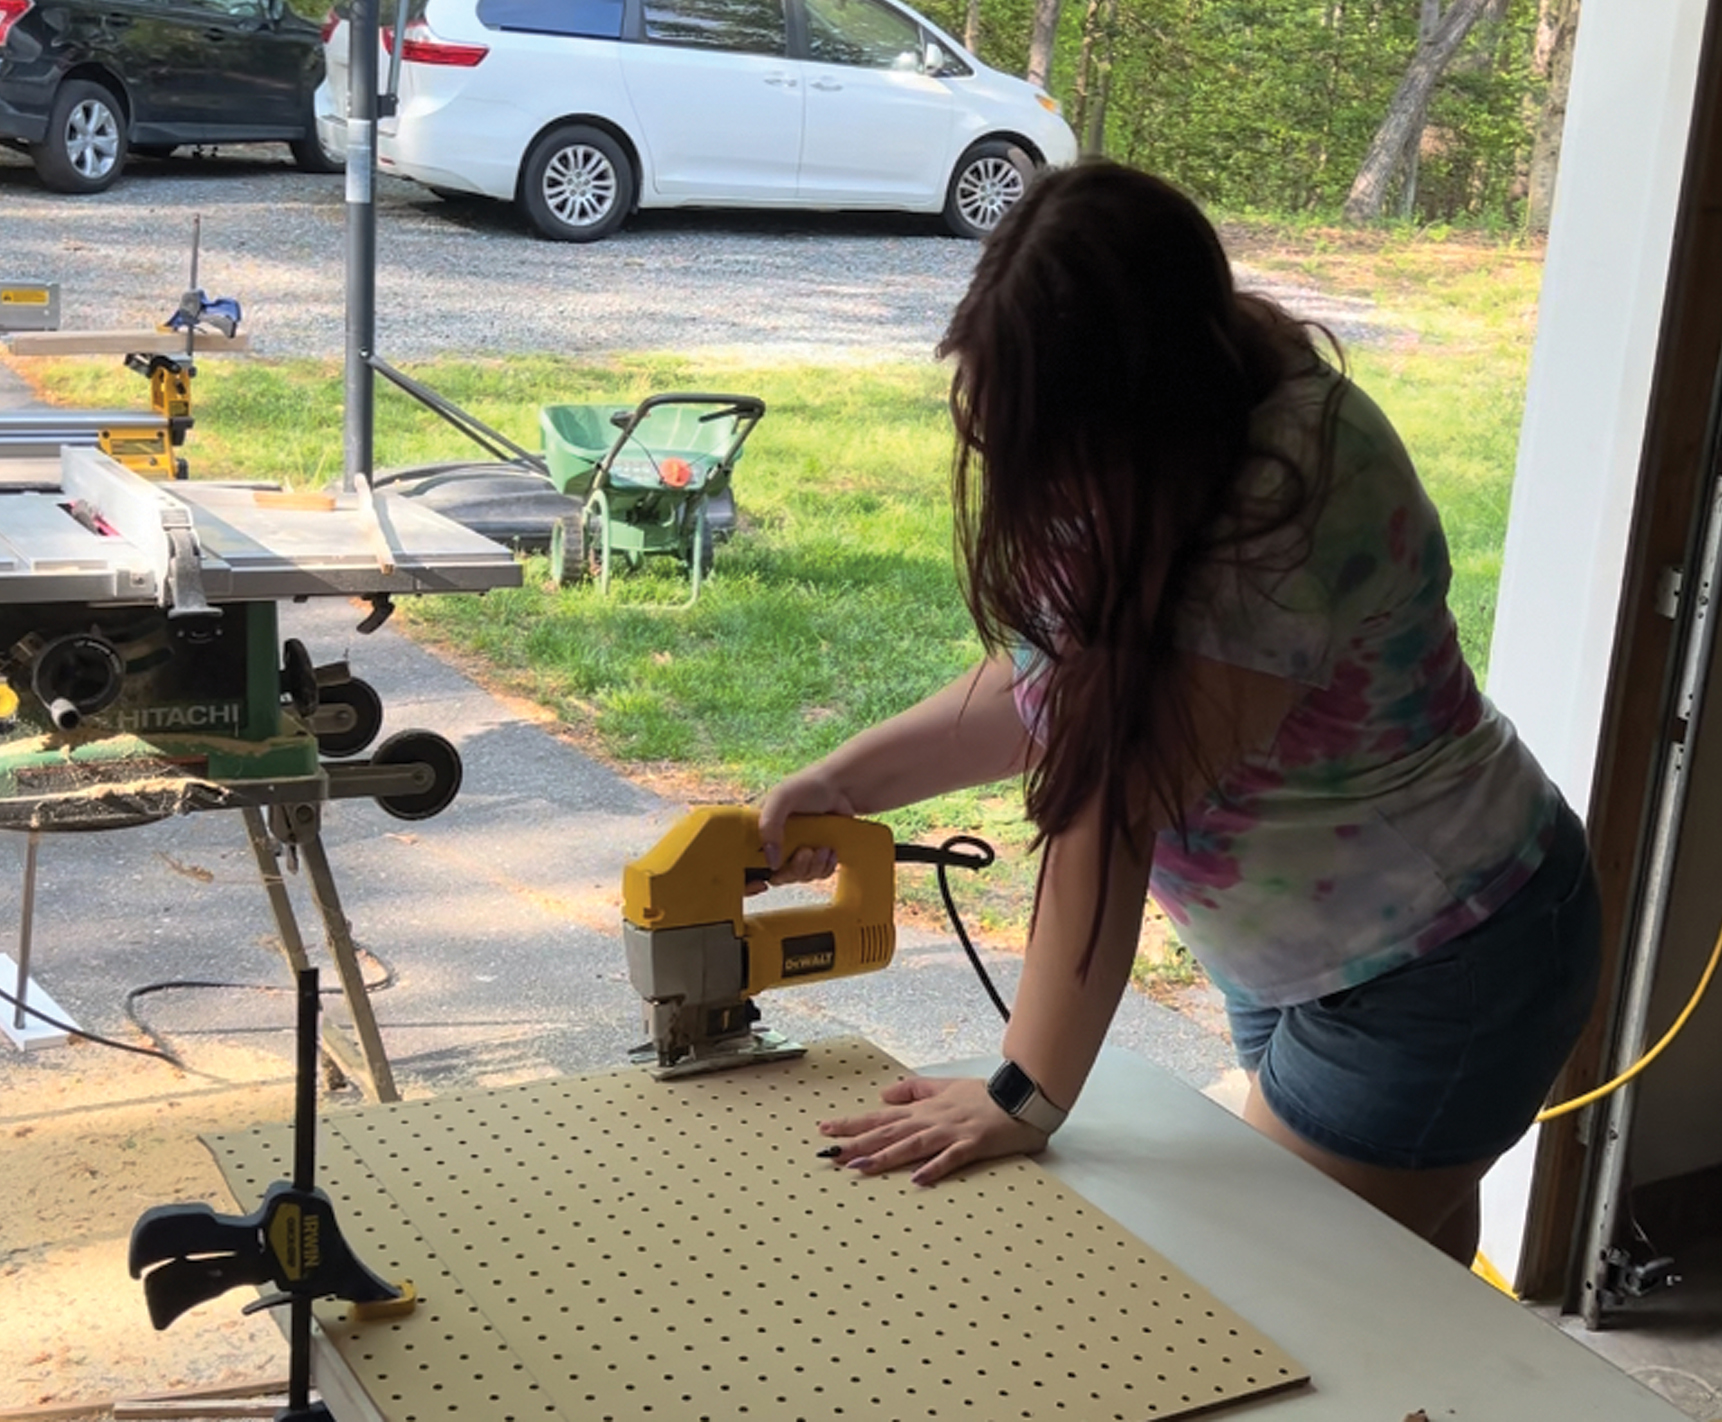
Step 10: Design your desired imagery. Keep in mind that in order for a stencil to work, all "blank" sections must be touching.
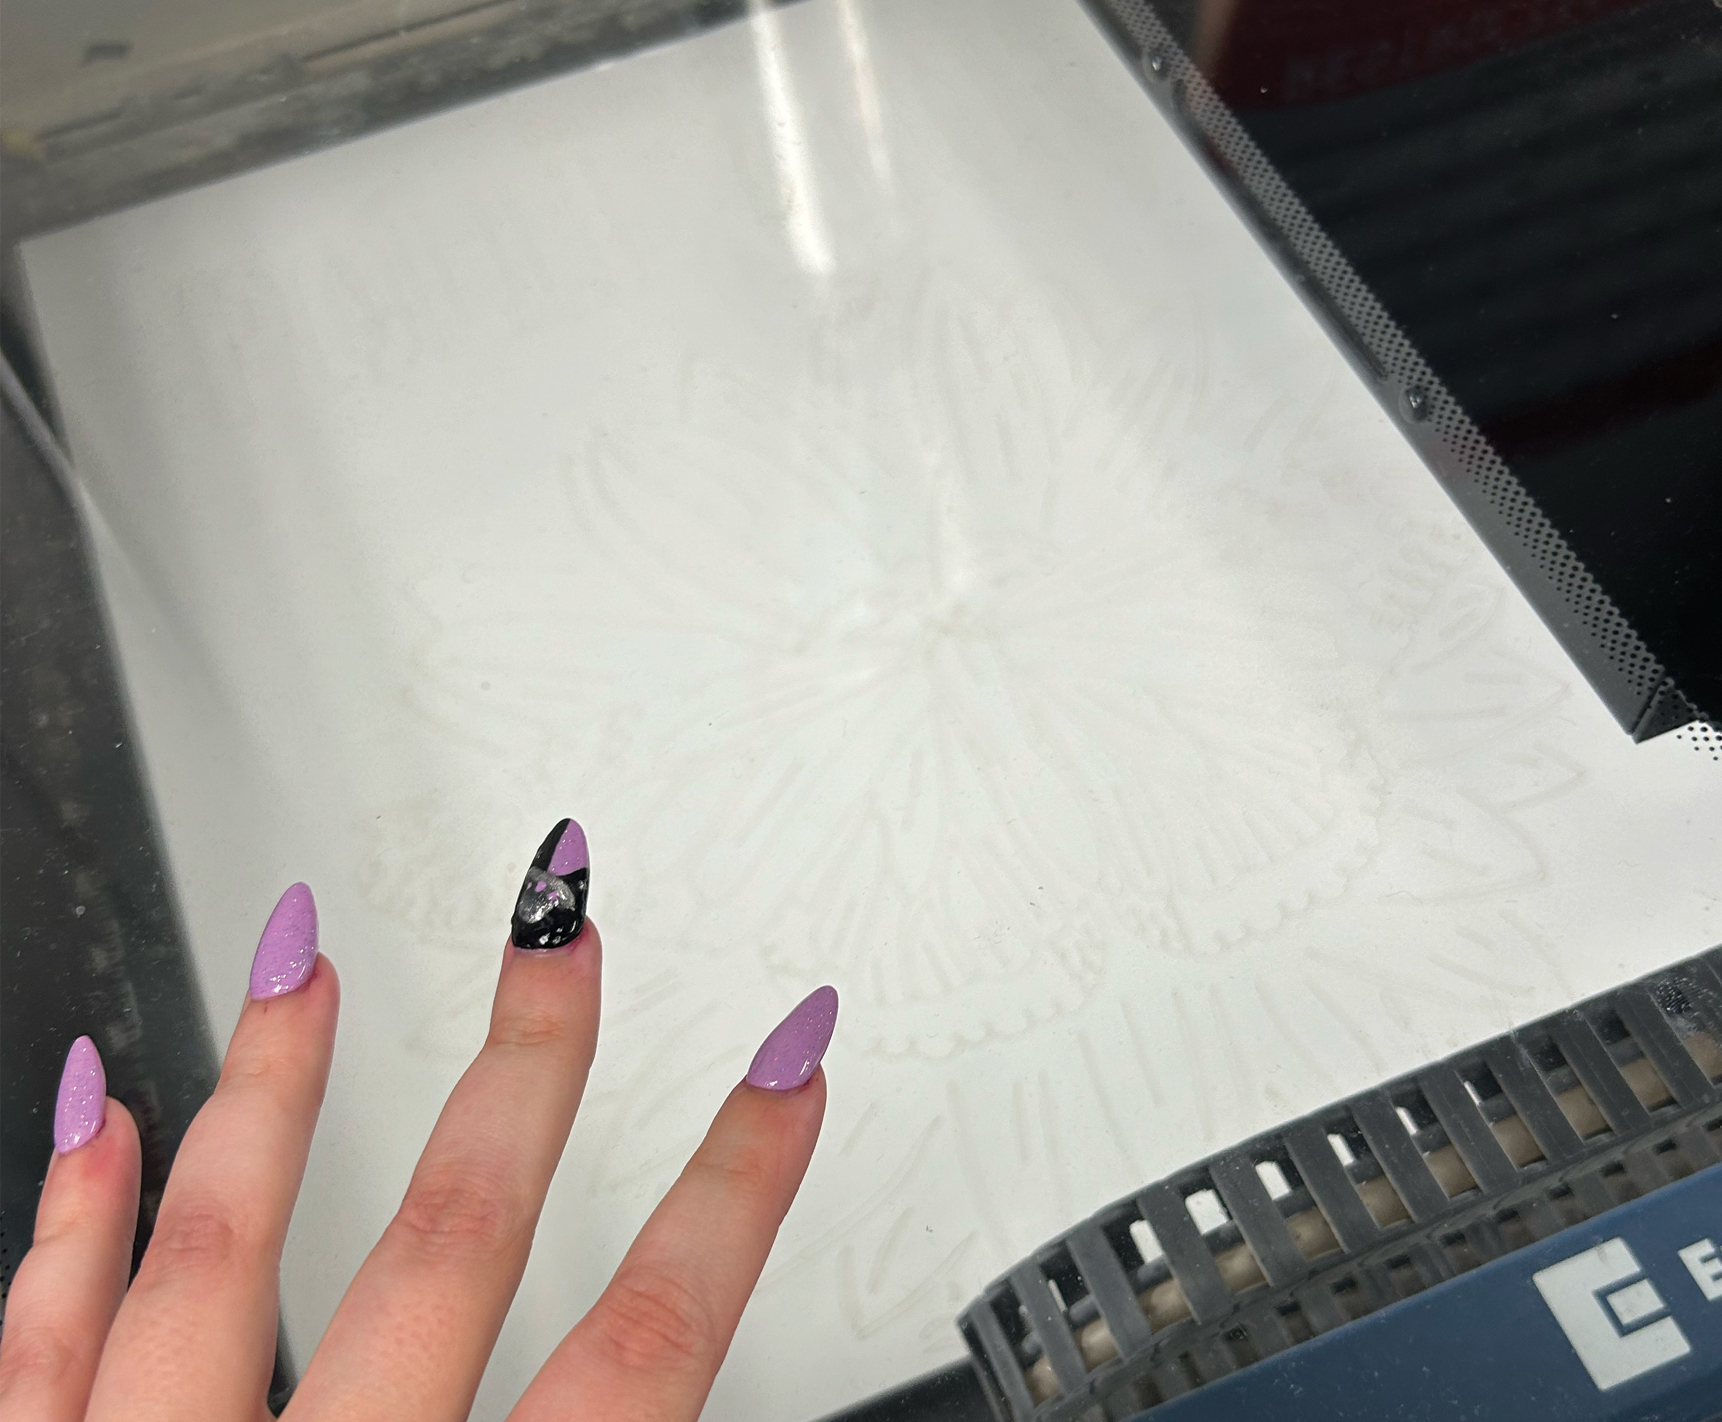
Step 11: Cut out your design. I used a laser cutting machine, but an exacto knife will absolutely work for simple designs.
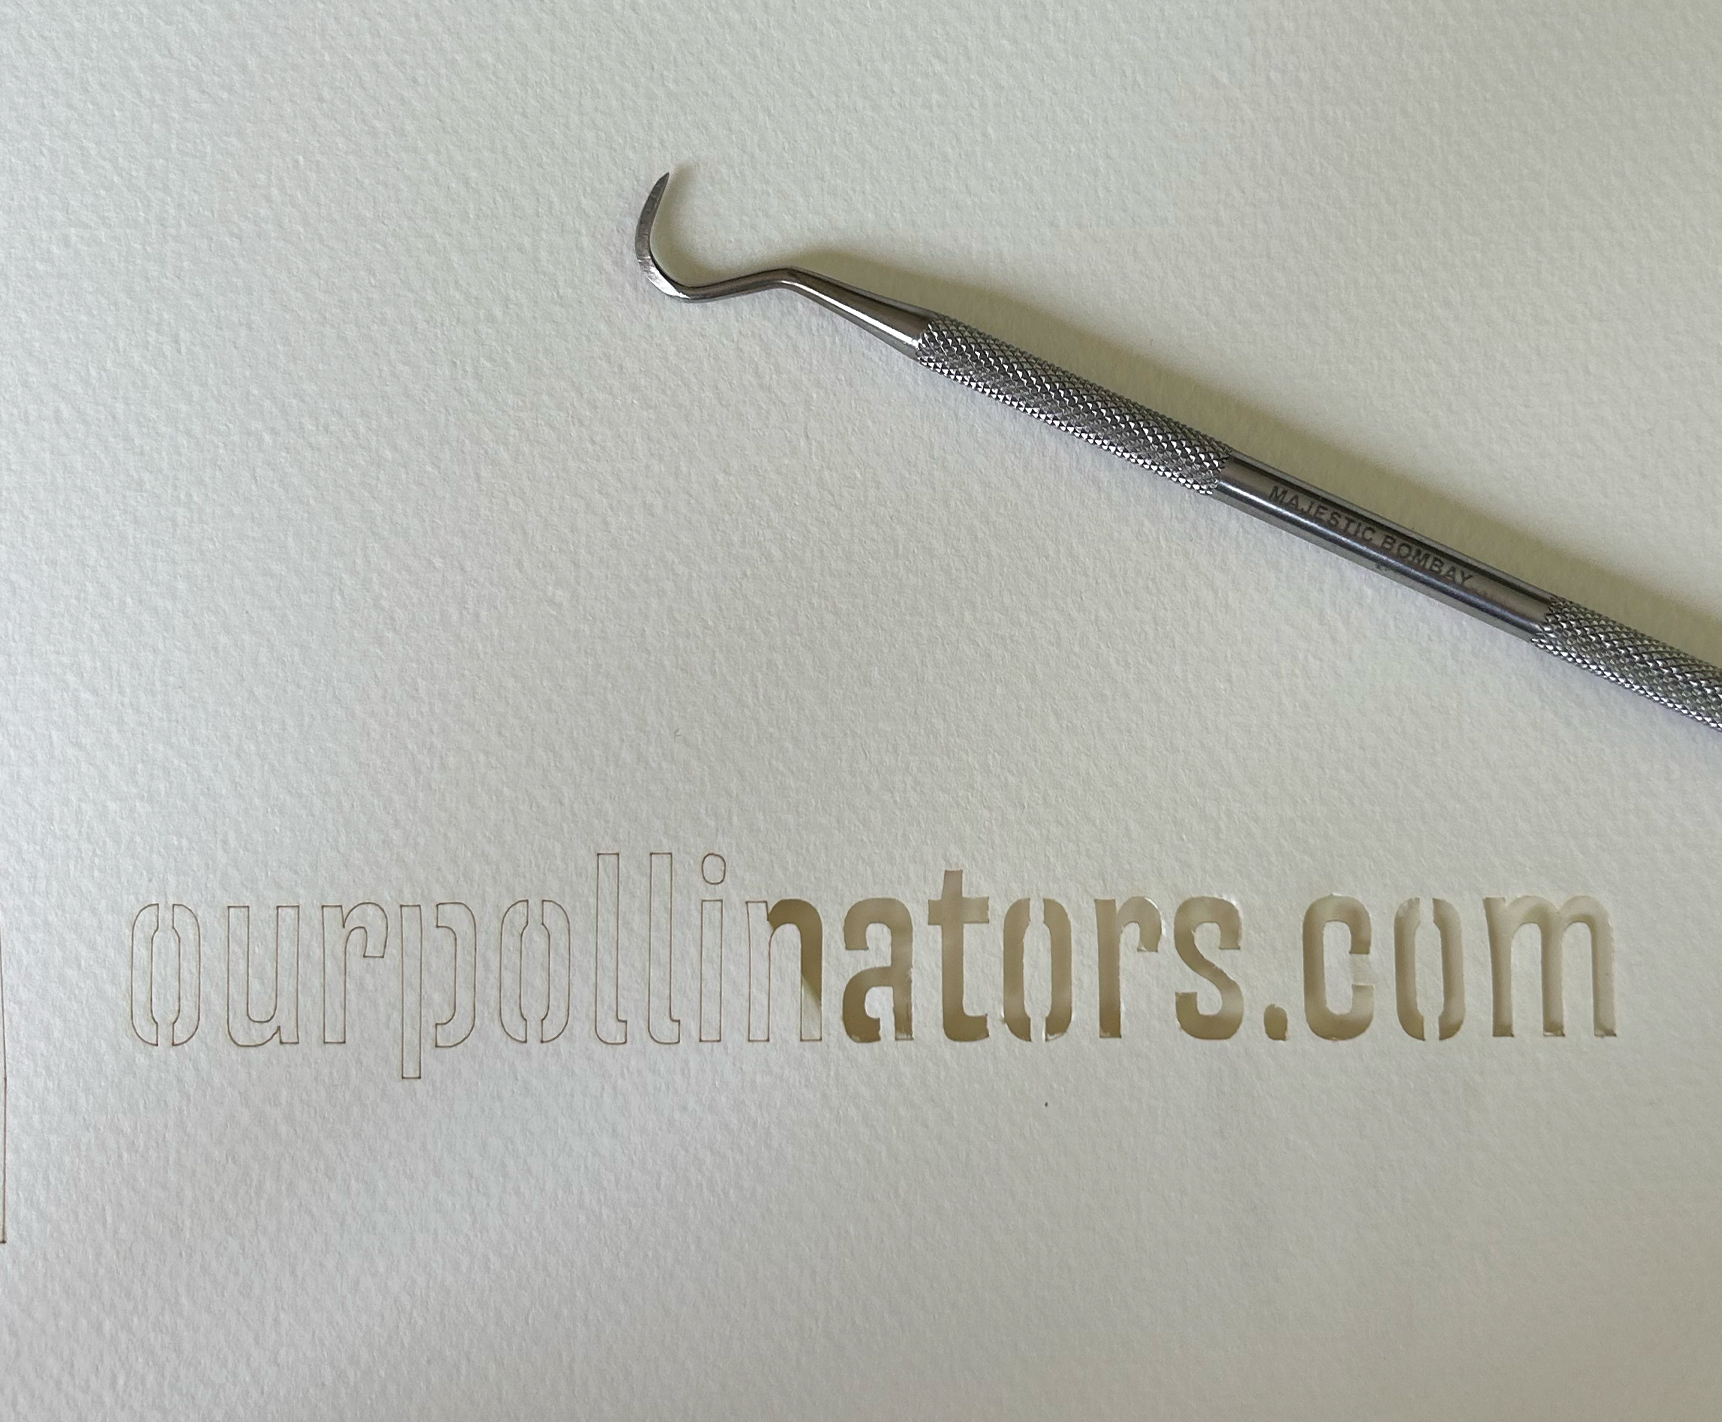
Step 12: If there are any sections that are not cut all the way through, remove with pointed took.
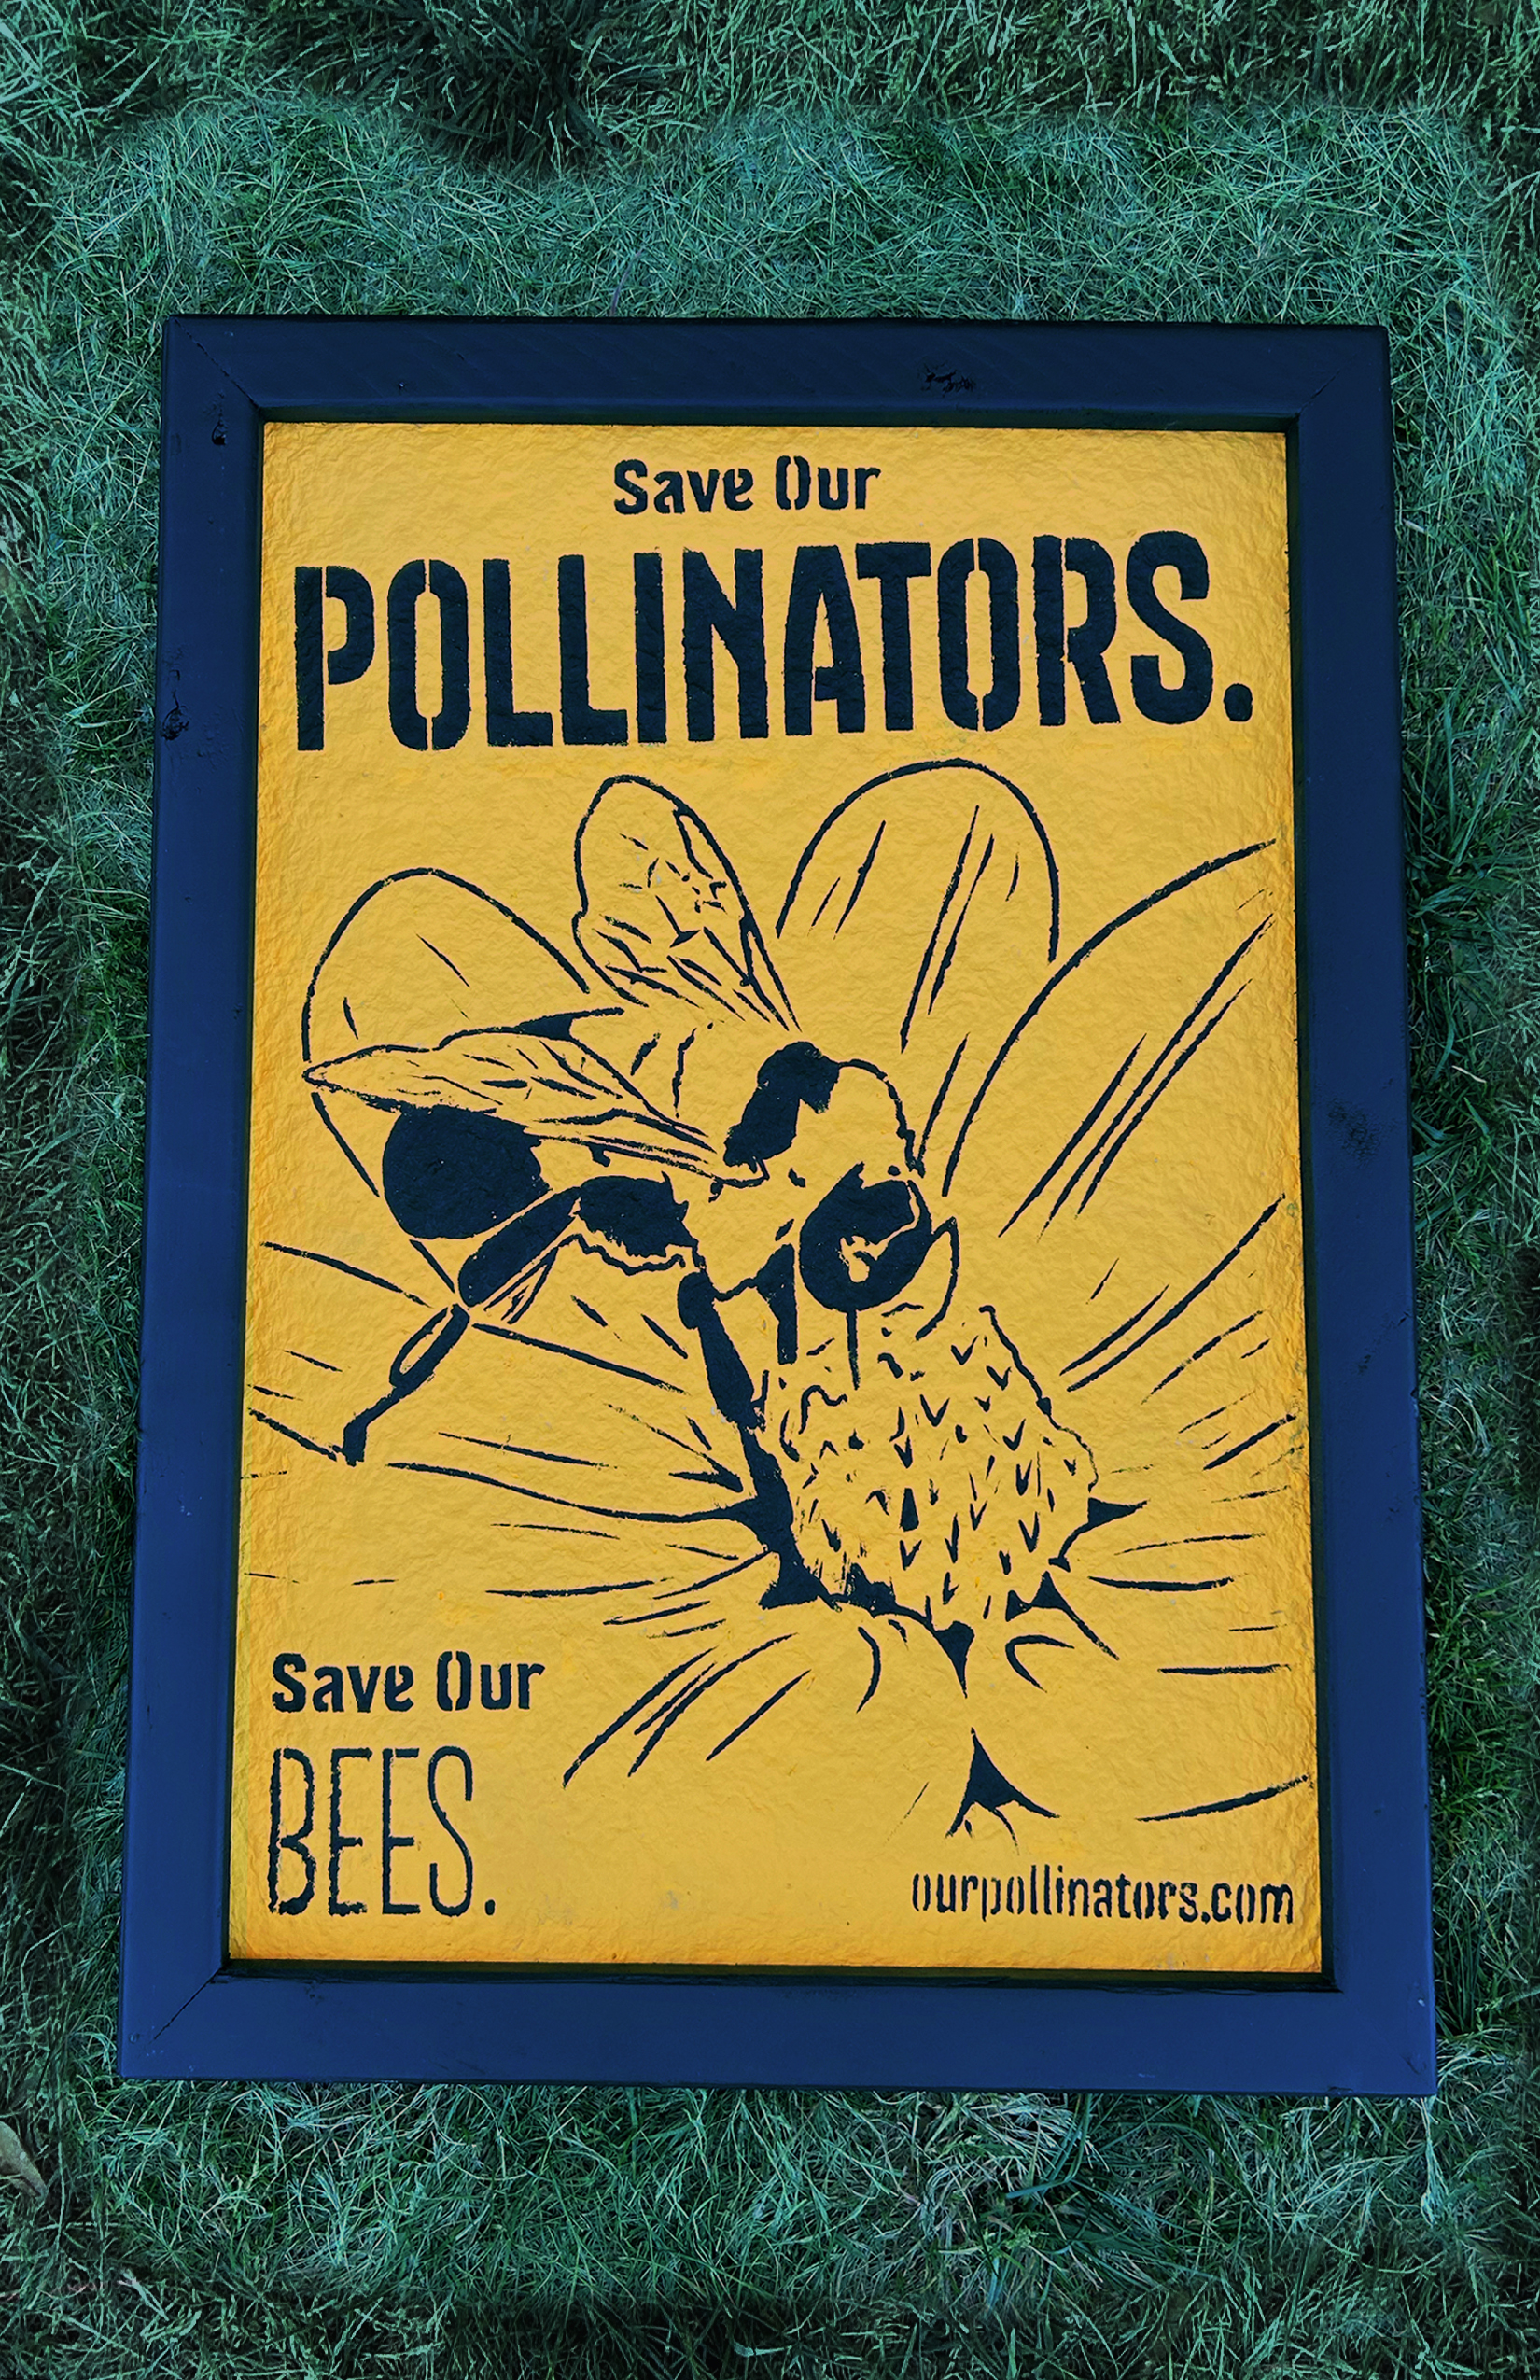
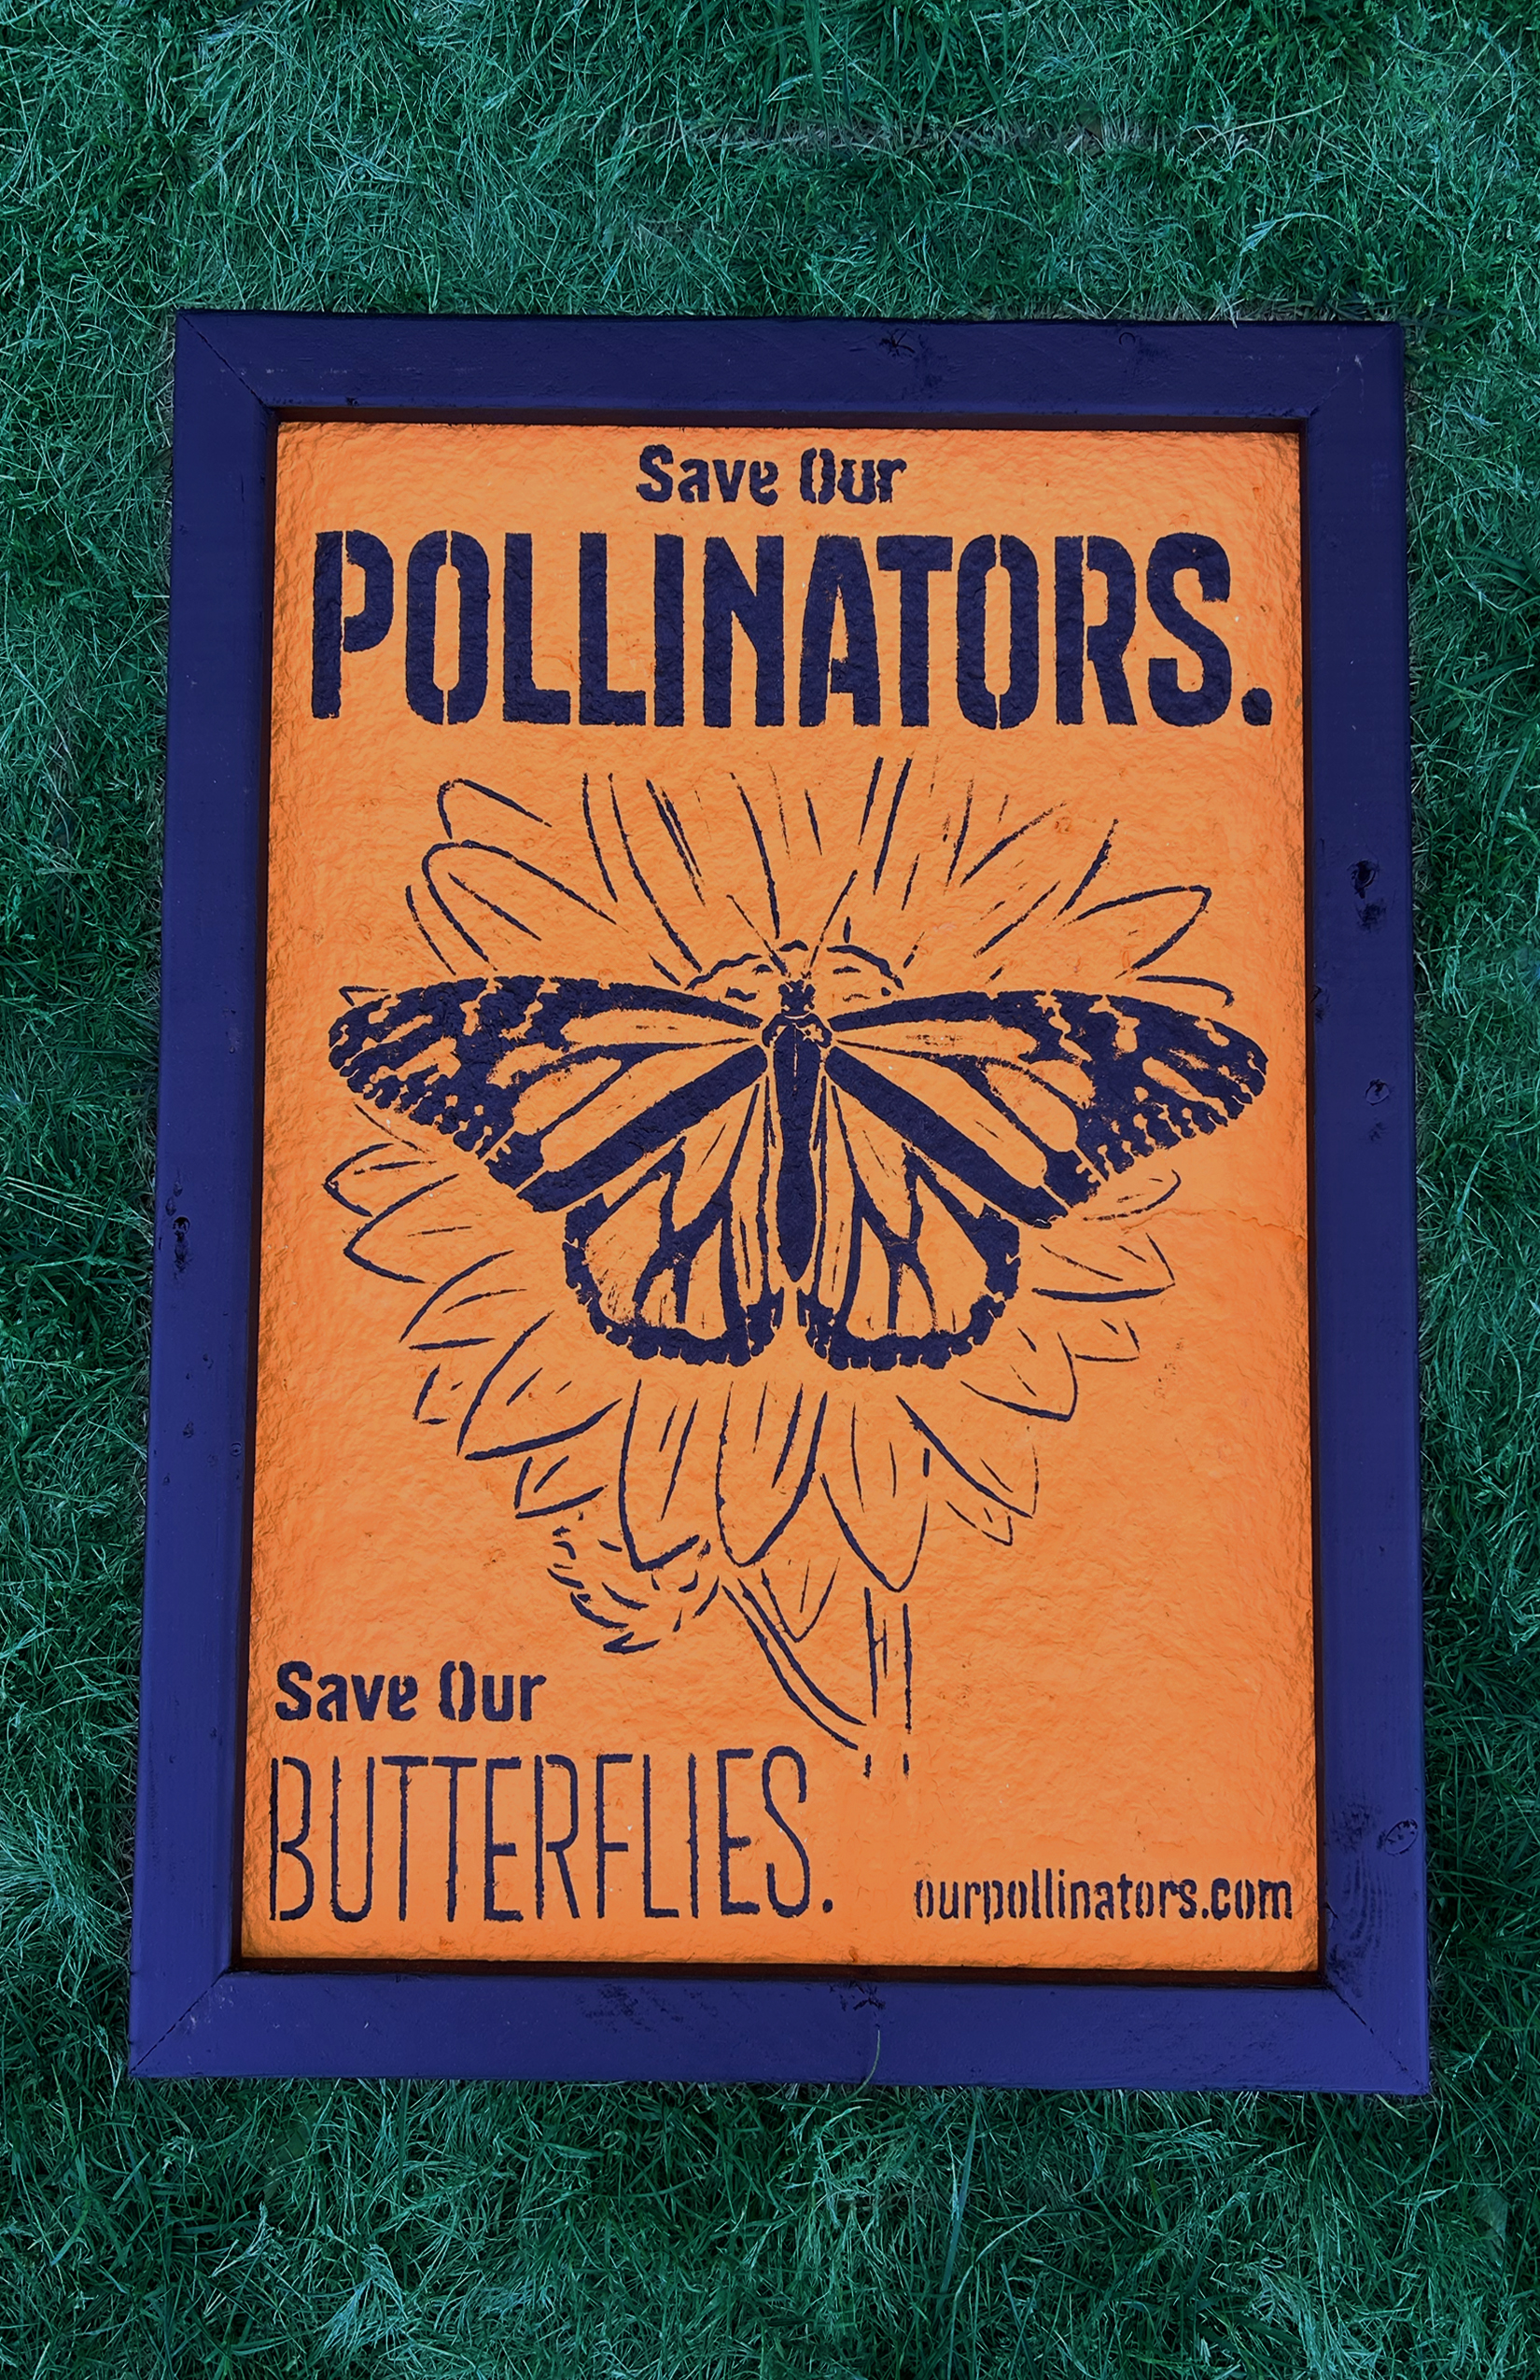
Step 13: I created frames using scrap wood for my project, but trimming the edges or buying frame will work the same.
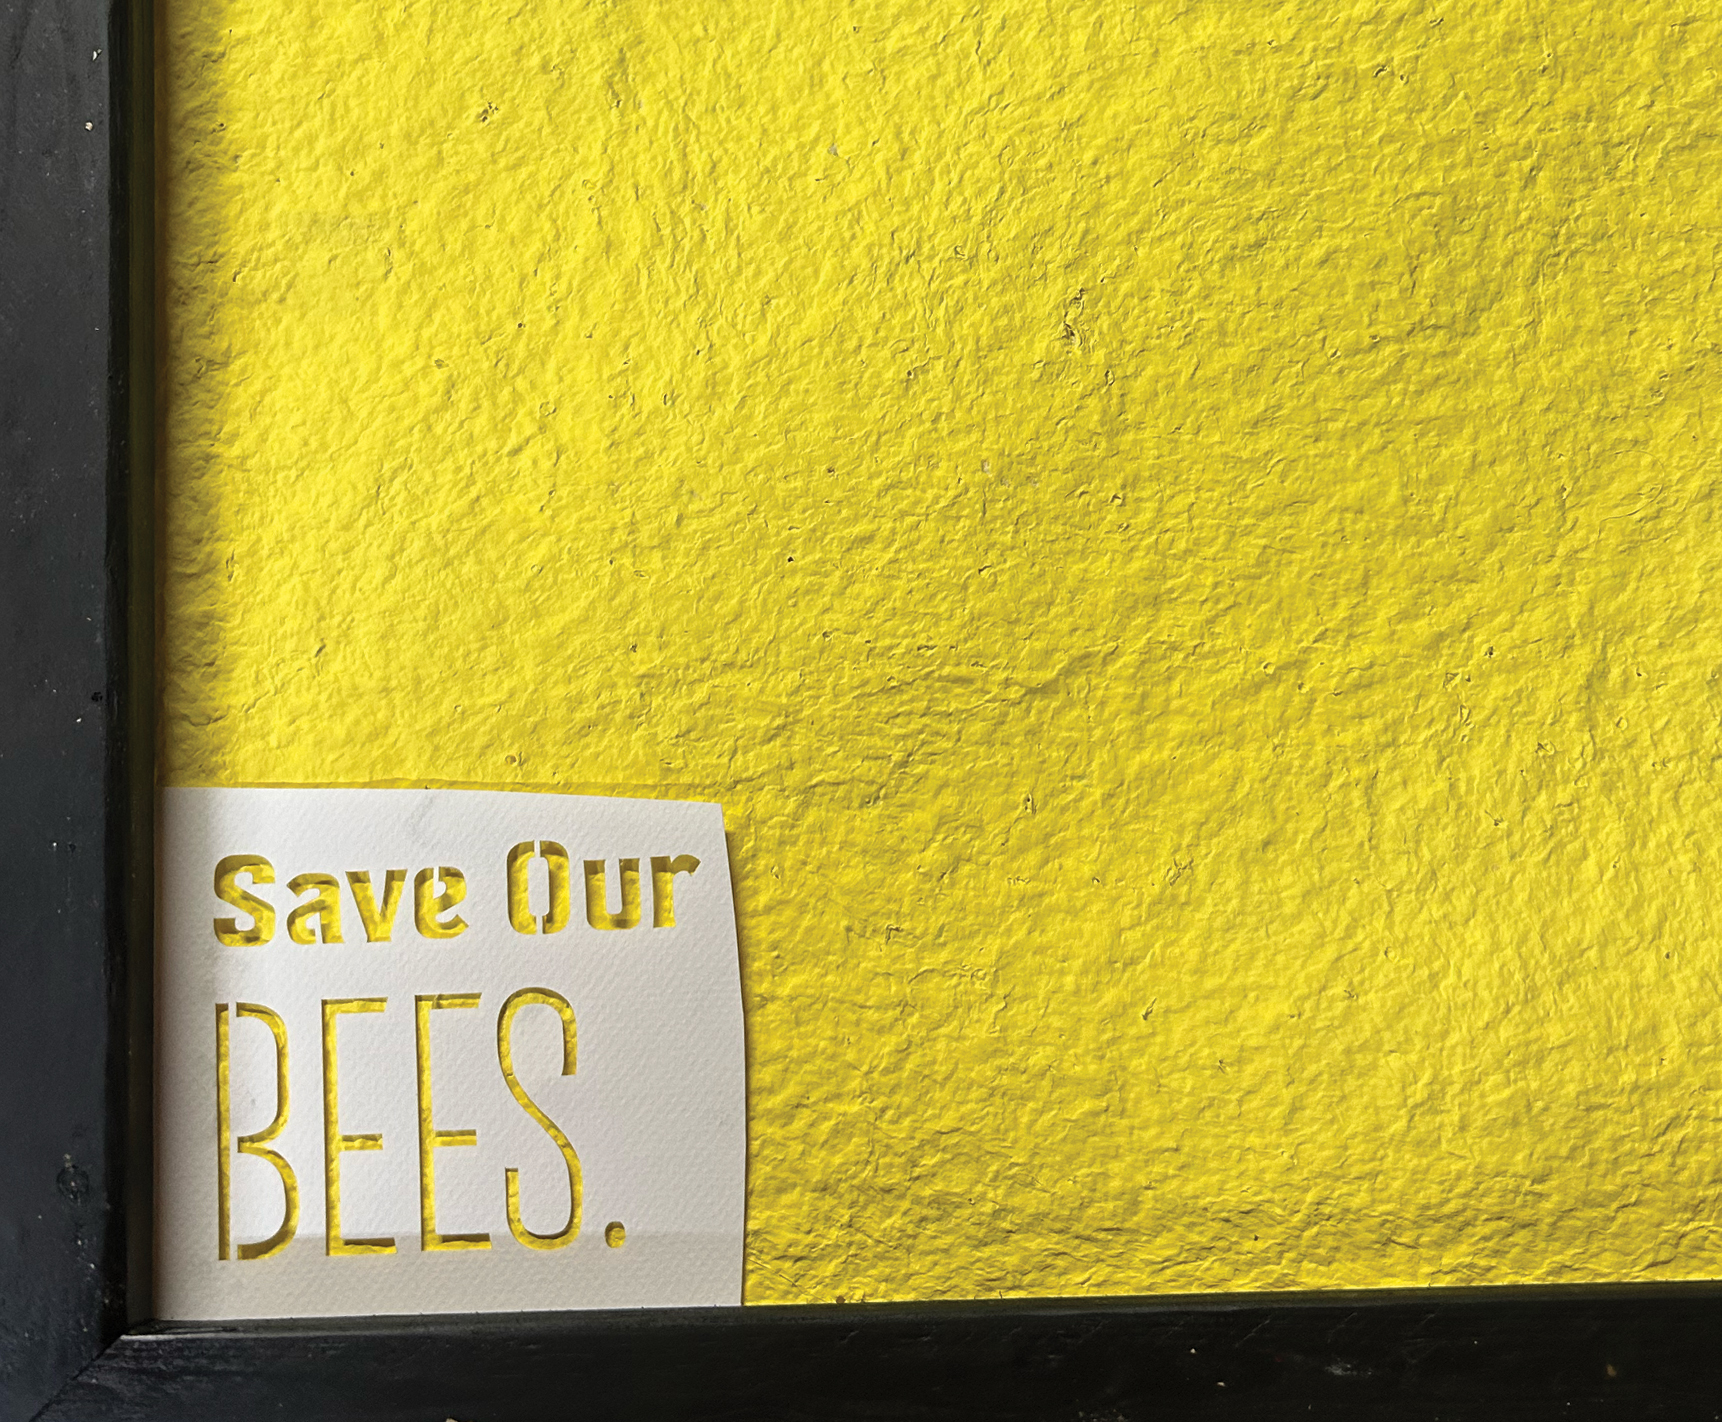
Step 14: Lay stencil onto dried paper, and blot non-toxic ink onto the surface. I used an old brush.
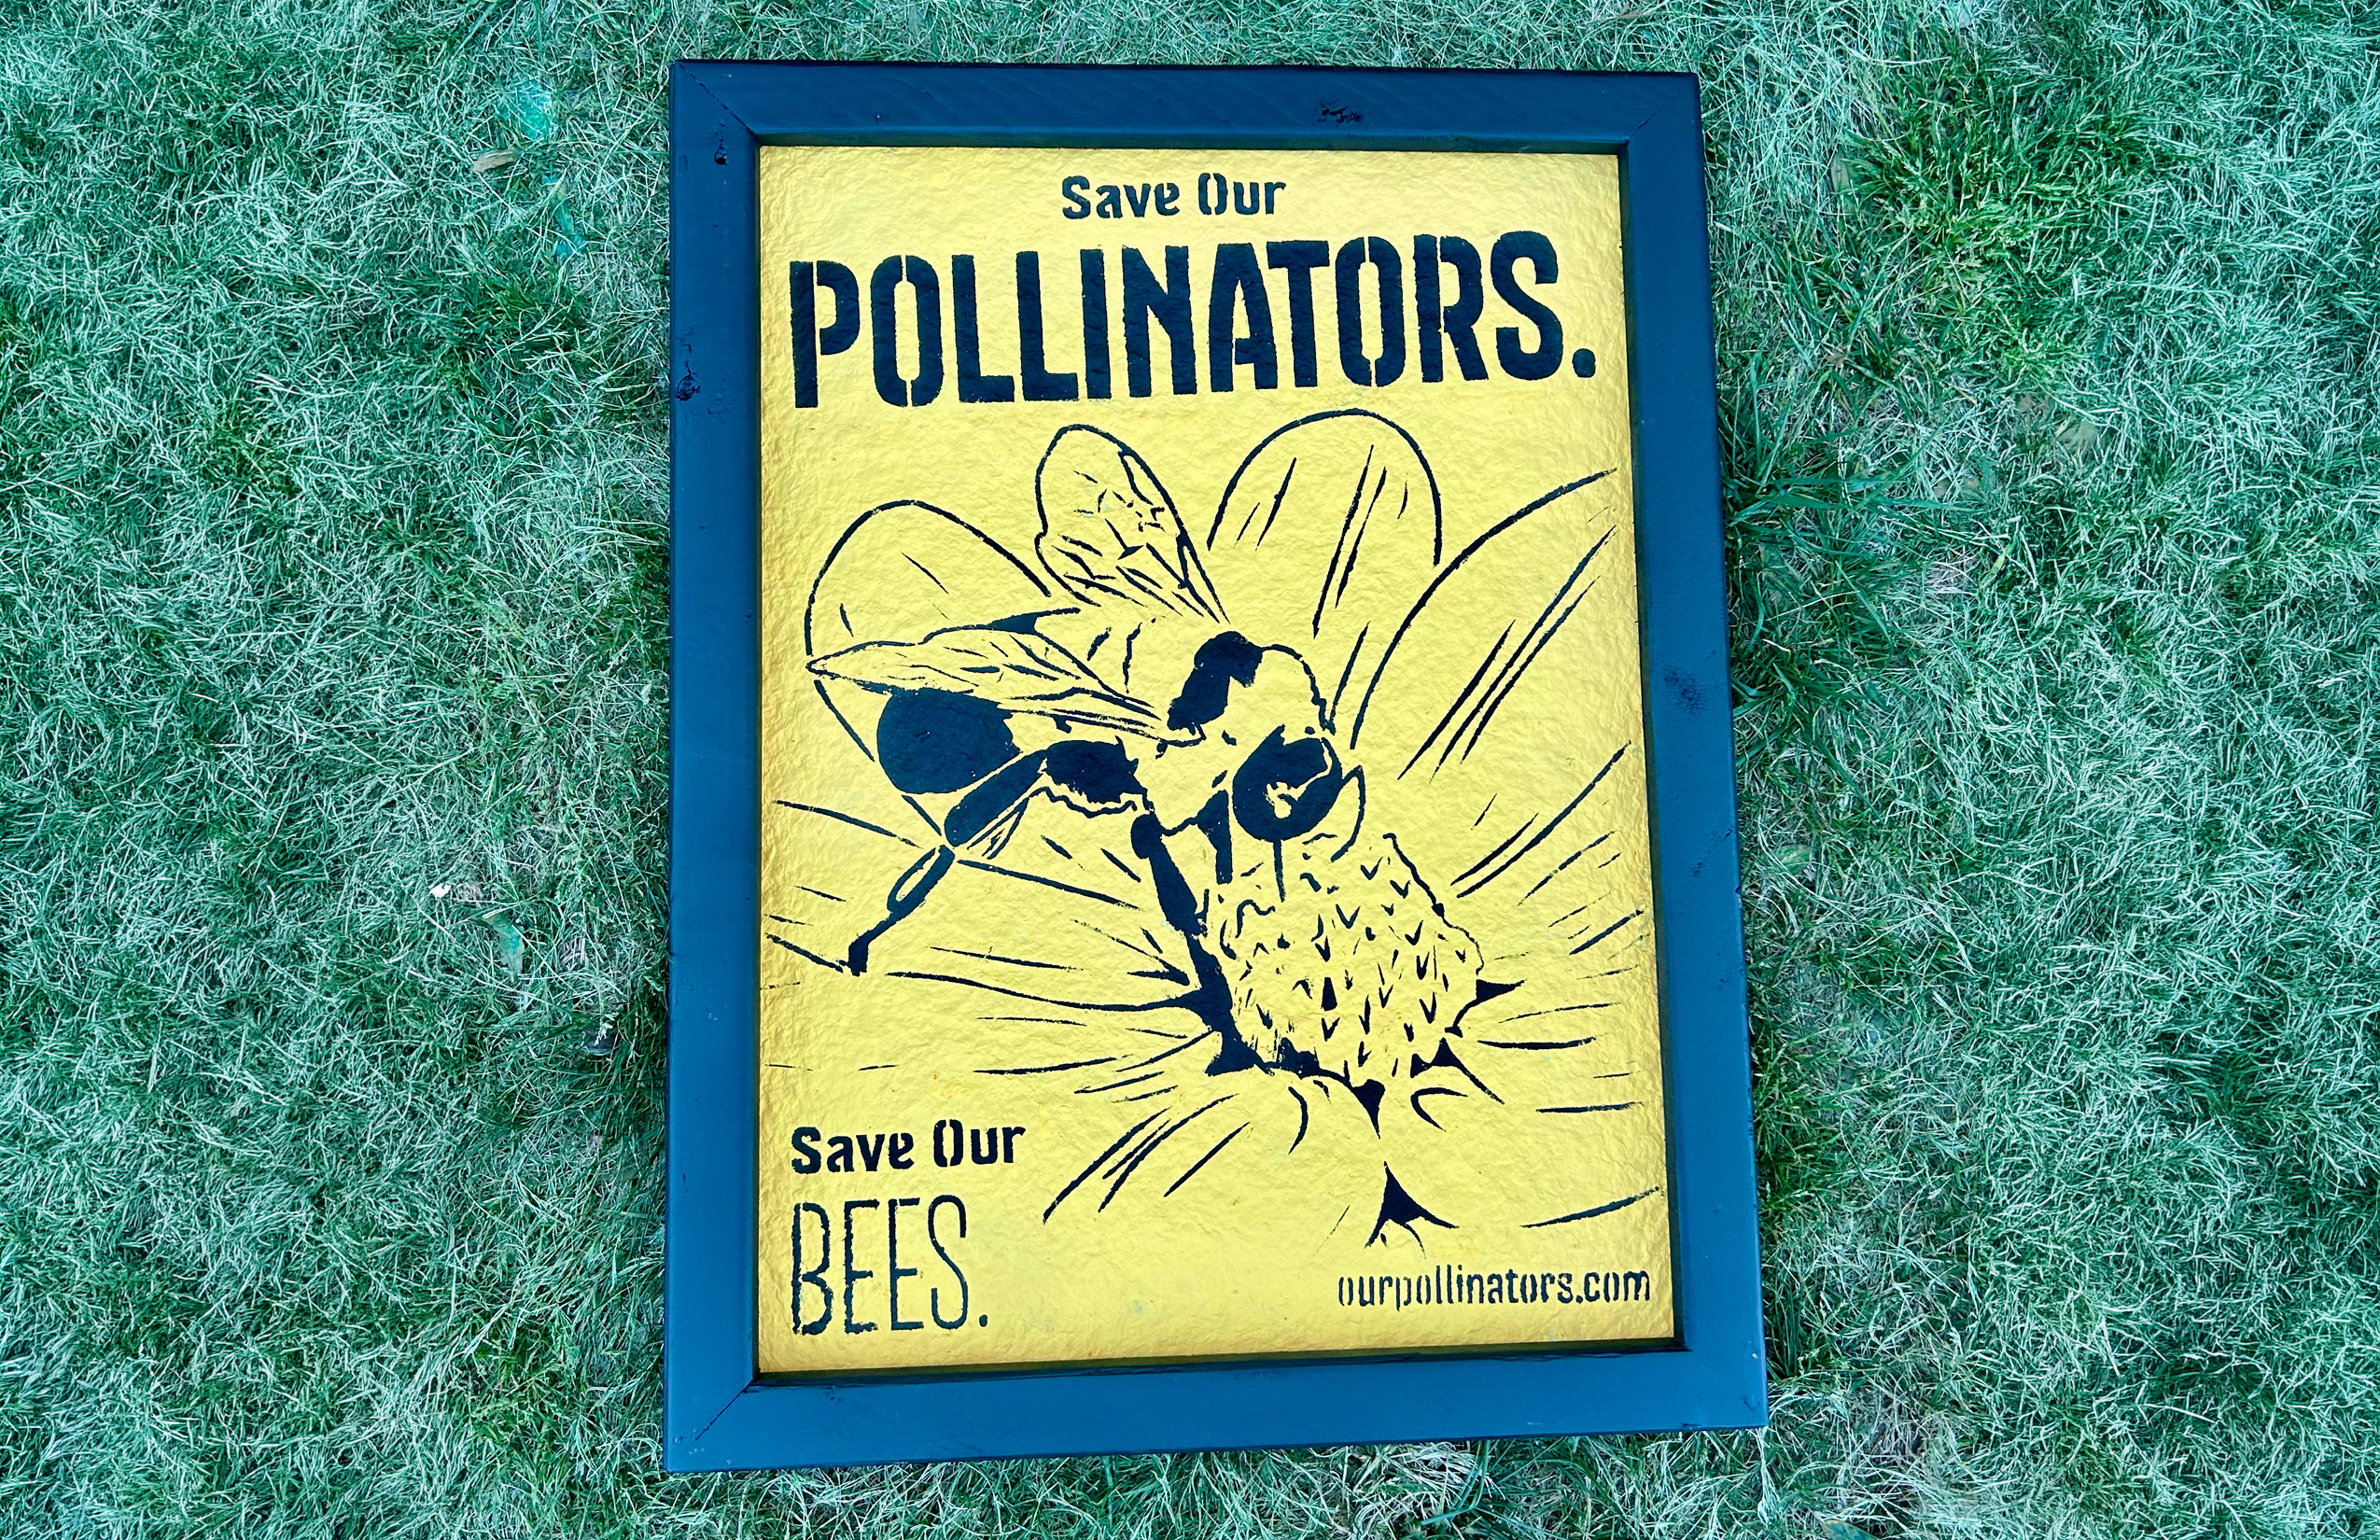
Step 15: Now you have your poster(s) finished and ready to be planted!